The Zapier integration will let you sync your contact form with potentially over 2000+ apps Zapier integrates with: https://zapier.com/apps.
When your visitors will submit the contact form, the information will be picked up by Zapier via a webhook and from there you can send it to different apps like Mailchimp, Google Docs, Gmail, etc.
Here is how you can set it up. We’ll break up the article in 3 main parts:
Part I. Setting up the Station – Zapier integration #
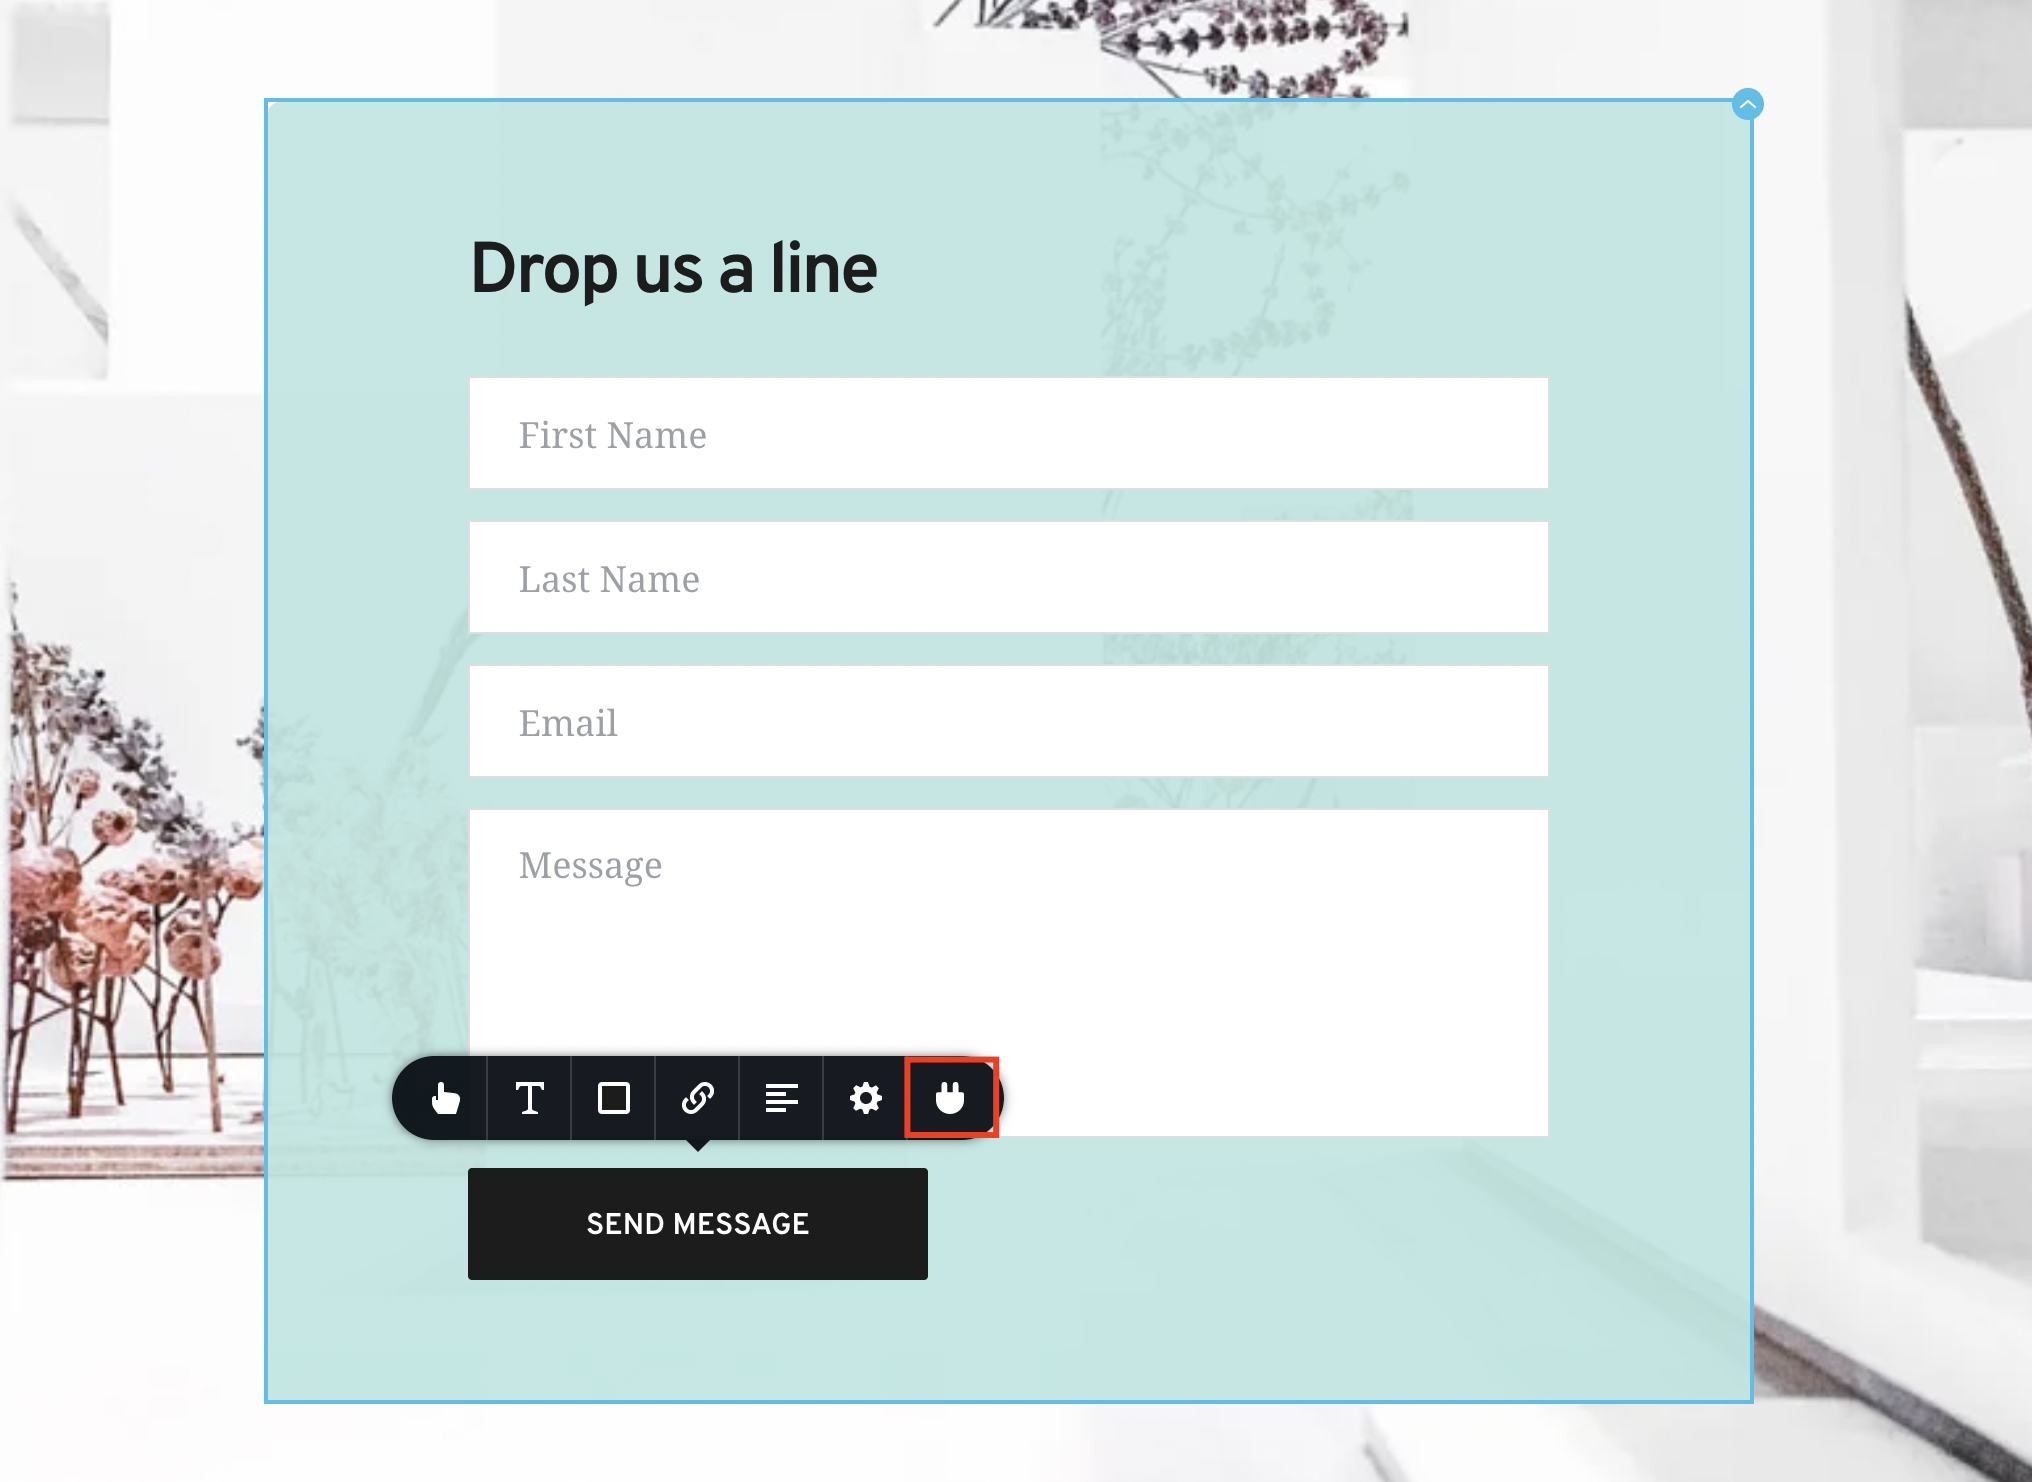
Step 1. Access the Integration Apps on the button of any contact form element in the Station builder
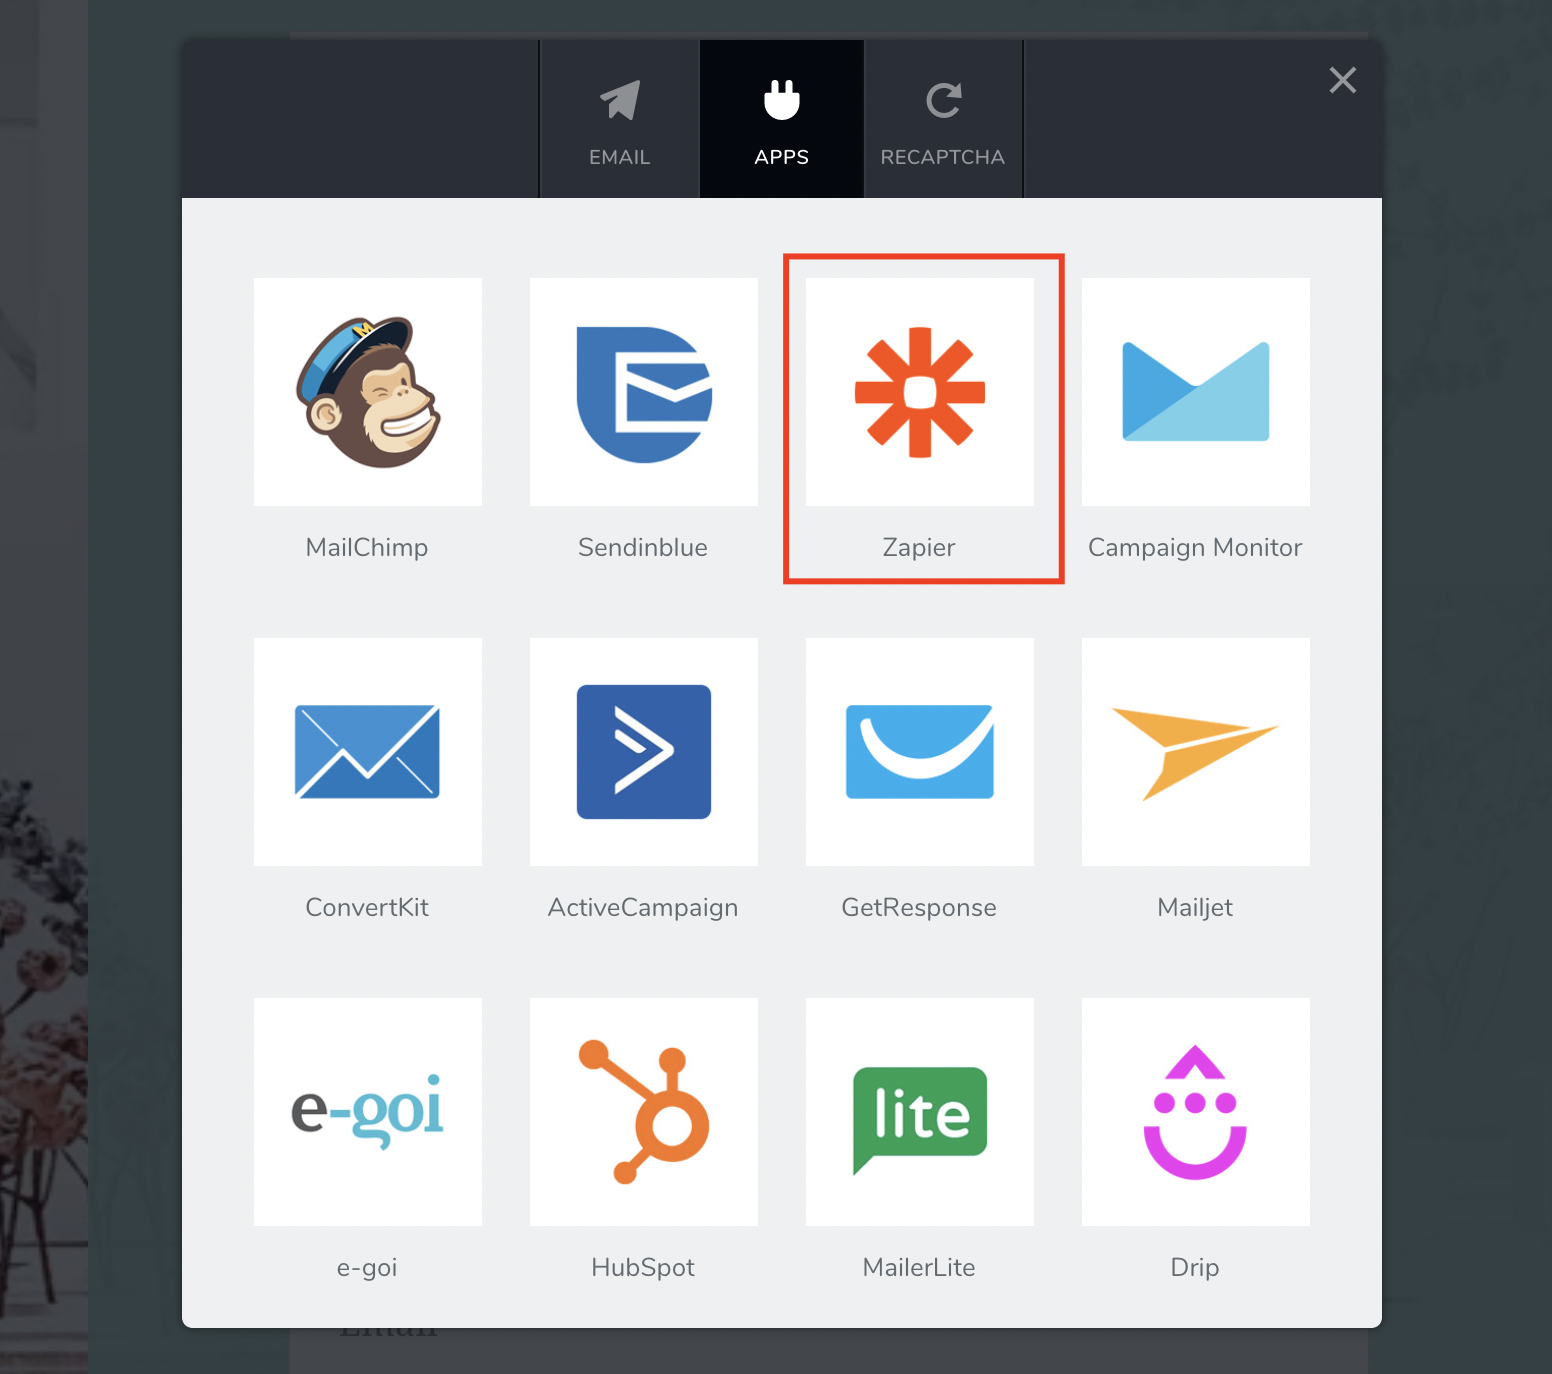
Step 2. Go to the Apps tab and select Zapier.
Step 3. Here is where you’ll need to input your Zapier Webhook URL to allow Zapier to pick up the contact form info.
Step 4. Login into your Zapier account.
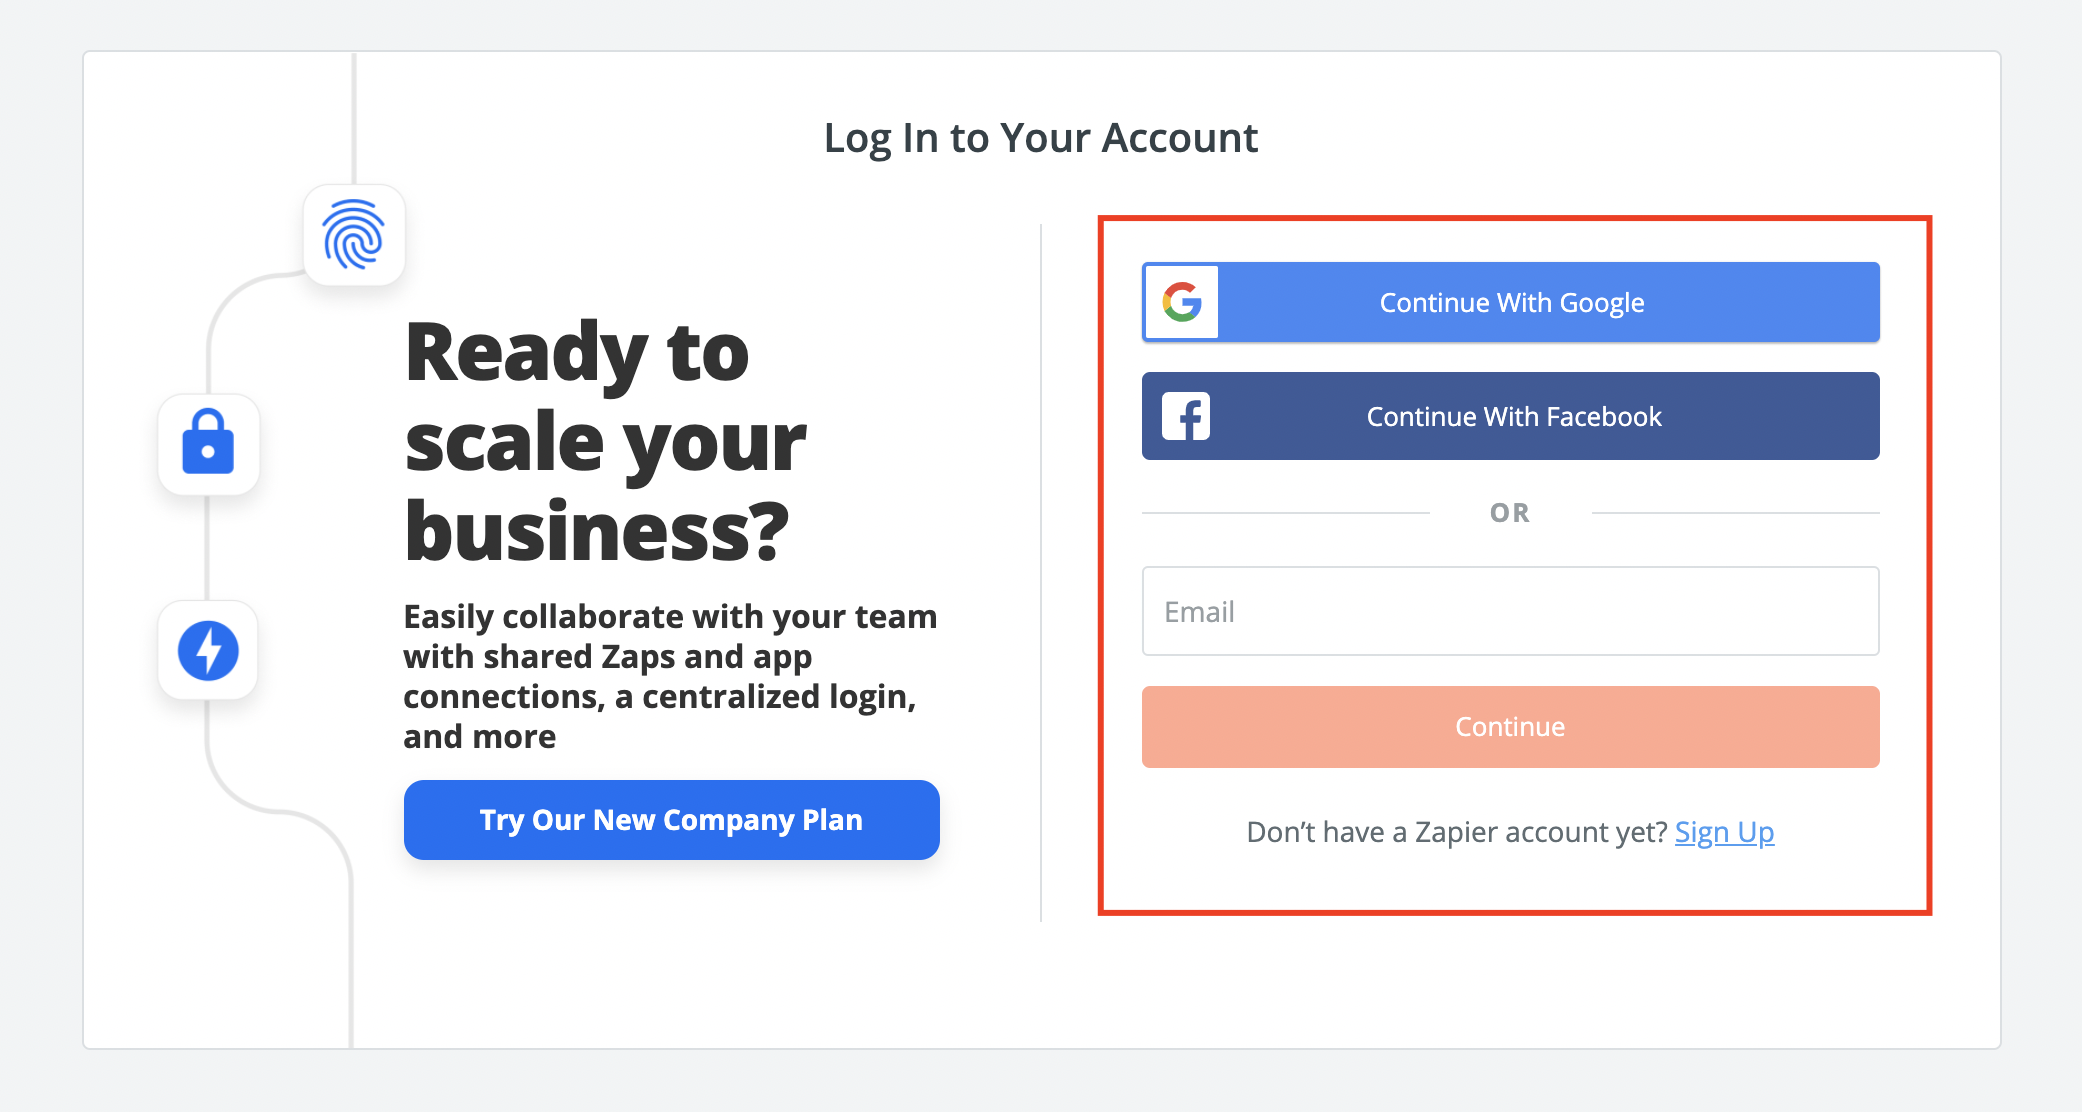
Step 5. Click on Make a Zap in the sidebar.
Think of Zaps as custom built set of rules that you create from scratch where you’ll tell Zapier: “Get this info from here” in our case the Station contact form and “Move it into an App Zapier knows how to work with”. There are over 2000 to choose from.
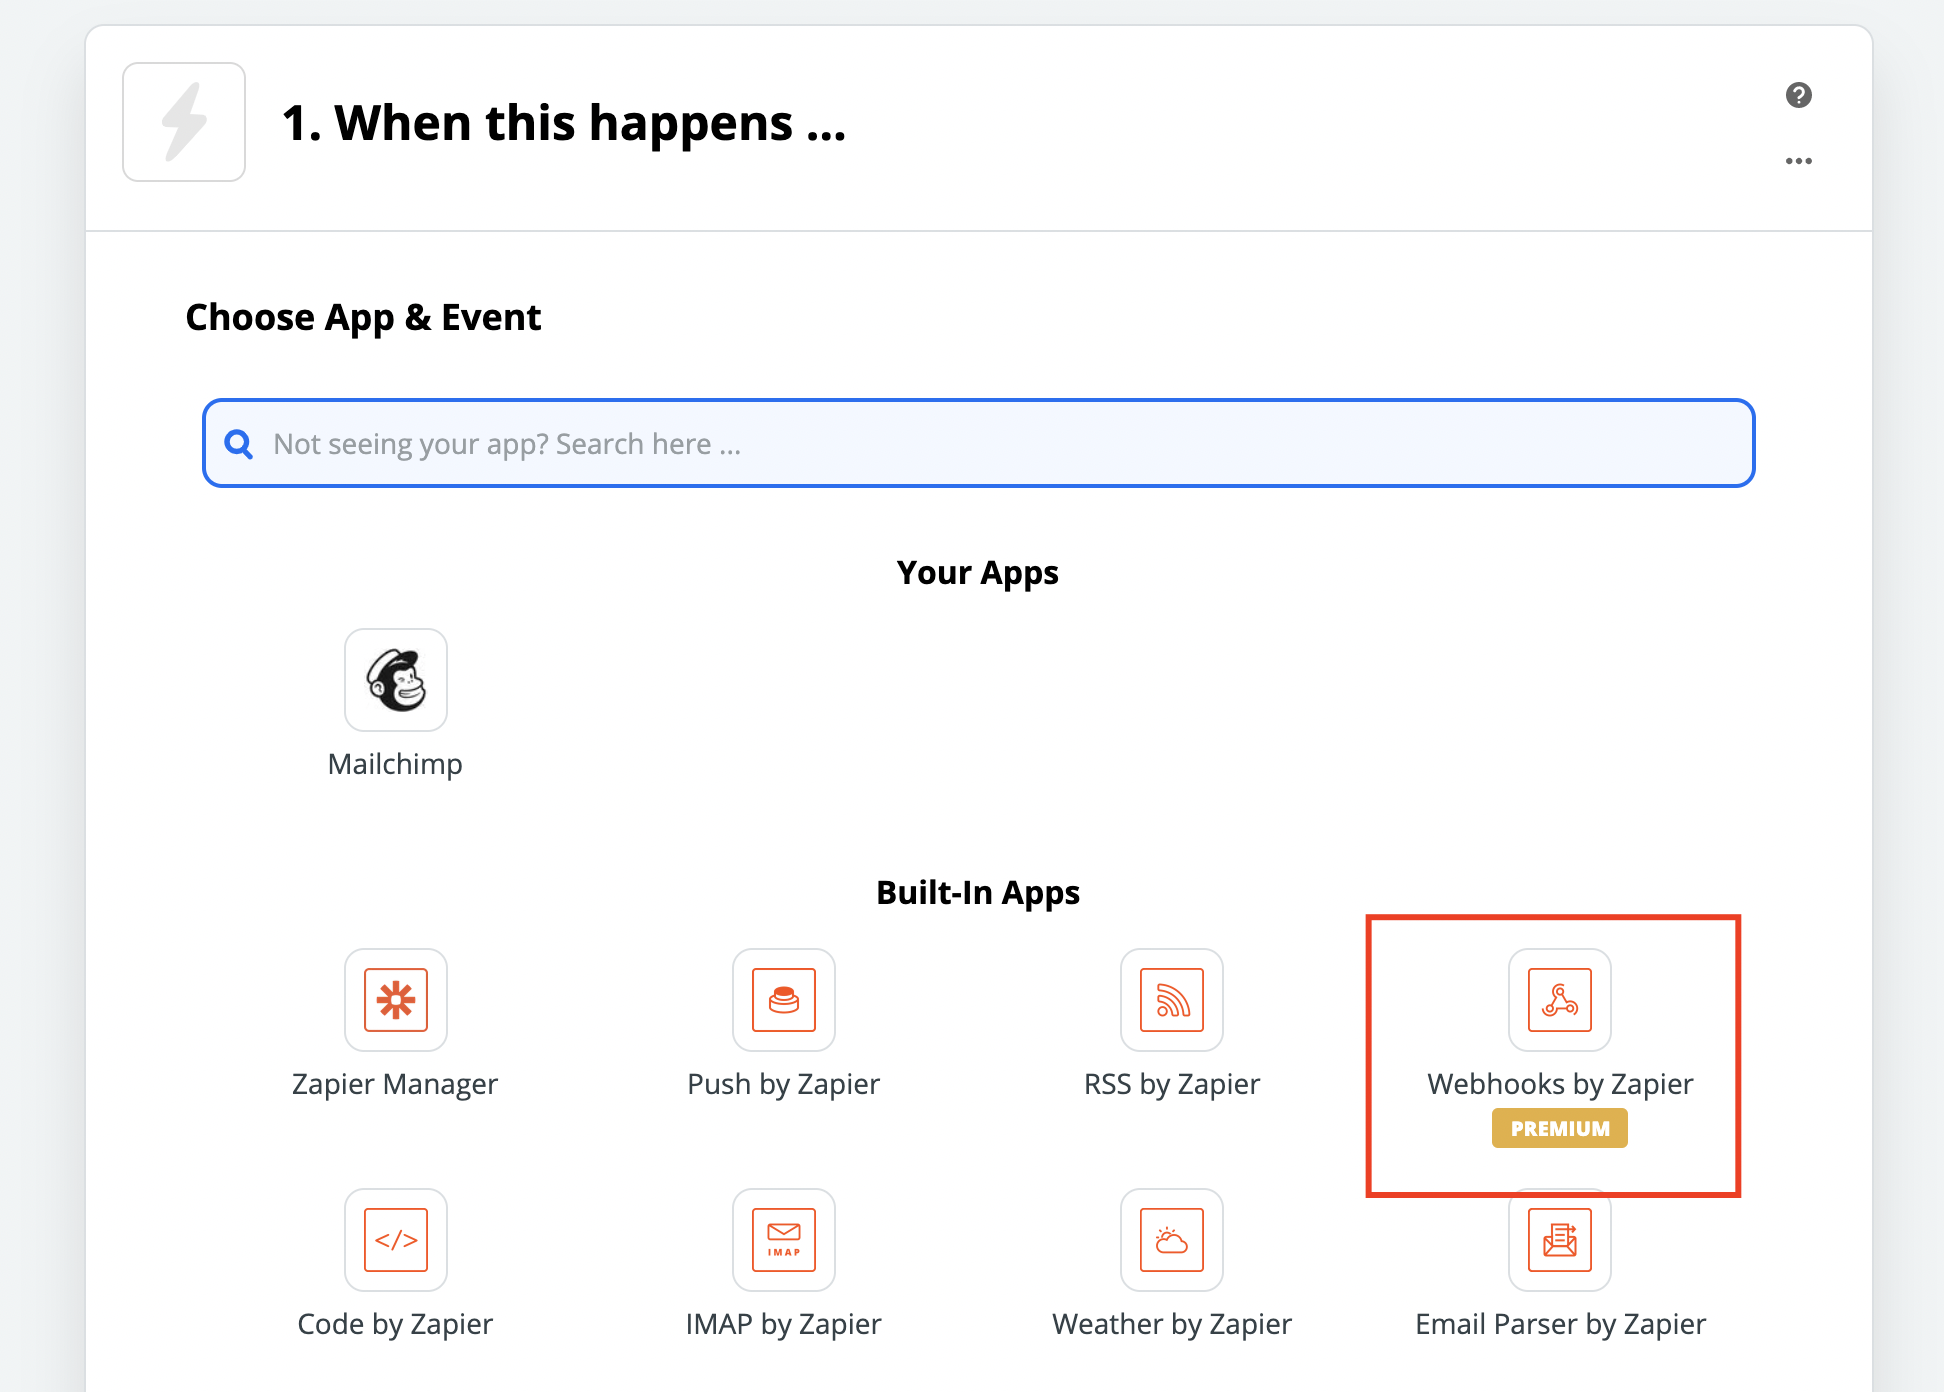
Step 6. The first step in your Zap is creating the way the info is collected by Zapier. In our case Webhook by Zapier, so you’ll need to search for that in the built in app list.
Step 7. Next choose Catch Hook from the Trigger Event dropdown. This will let Zapier catch the contact form info your users will be submitting on your website.
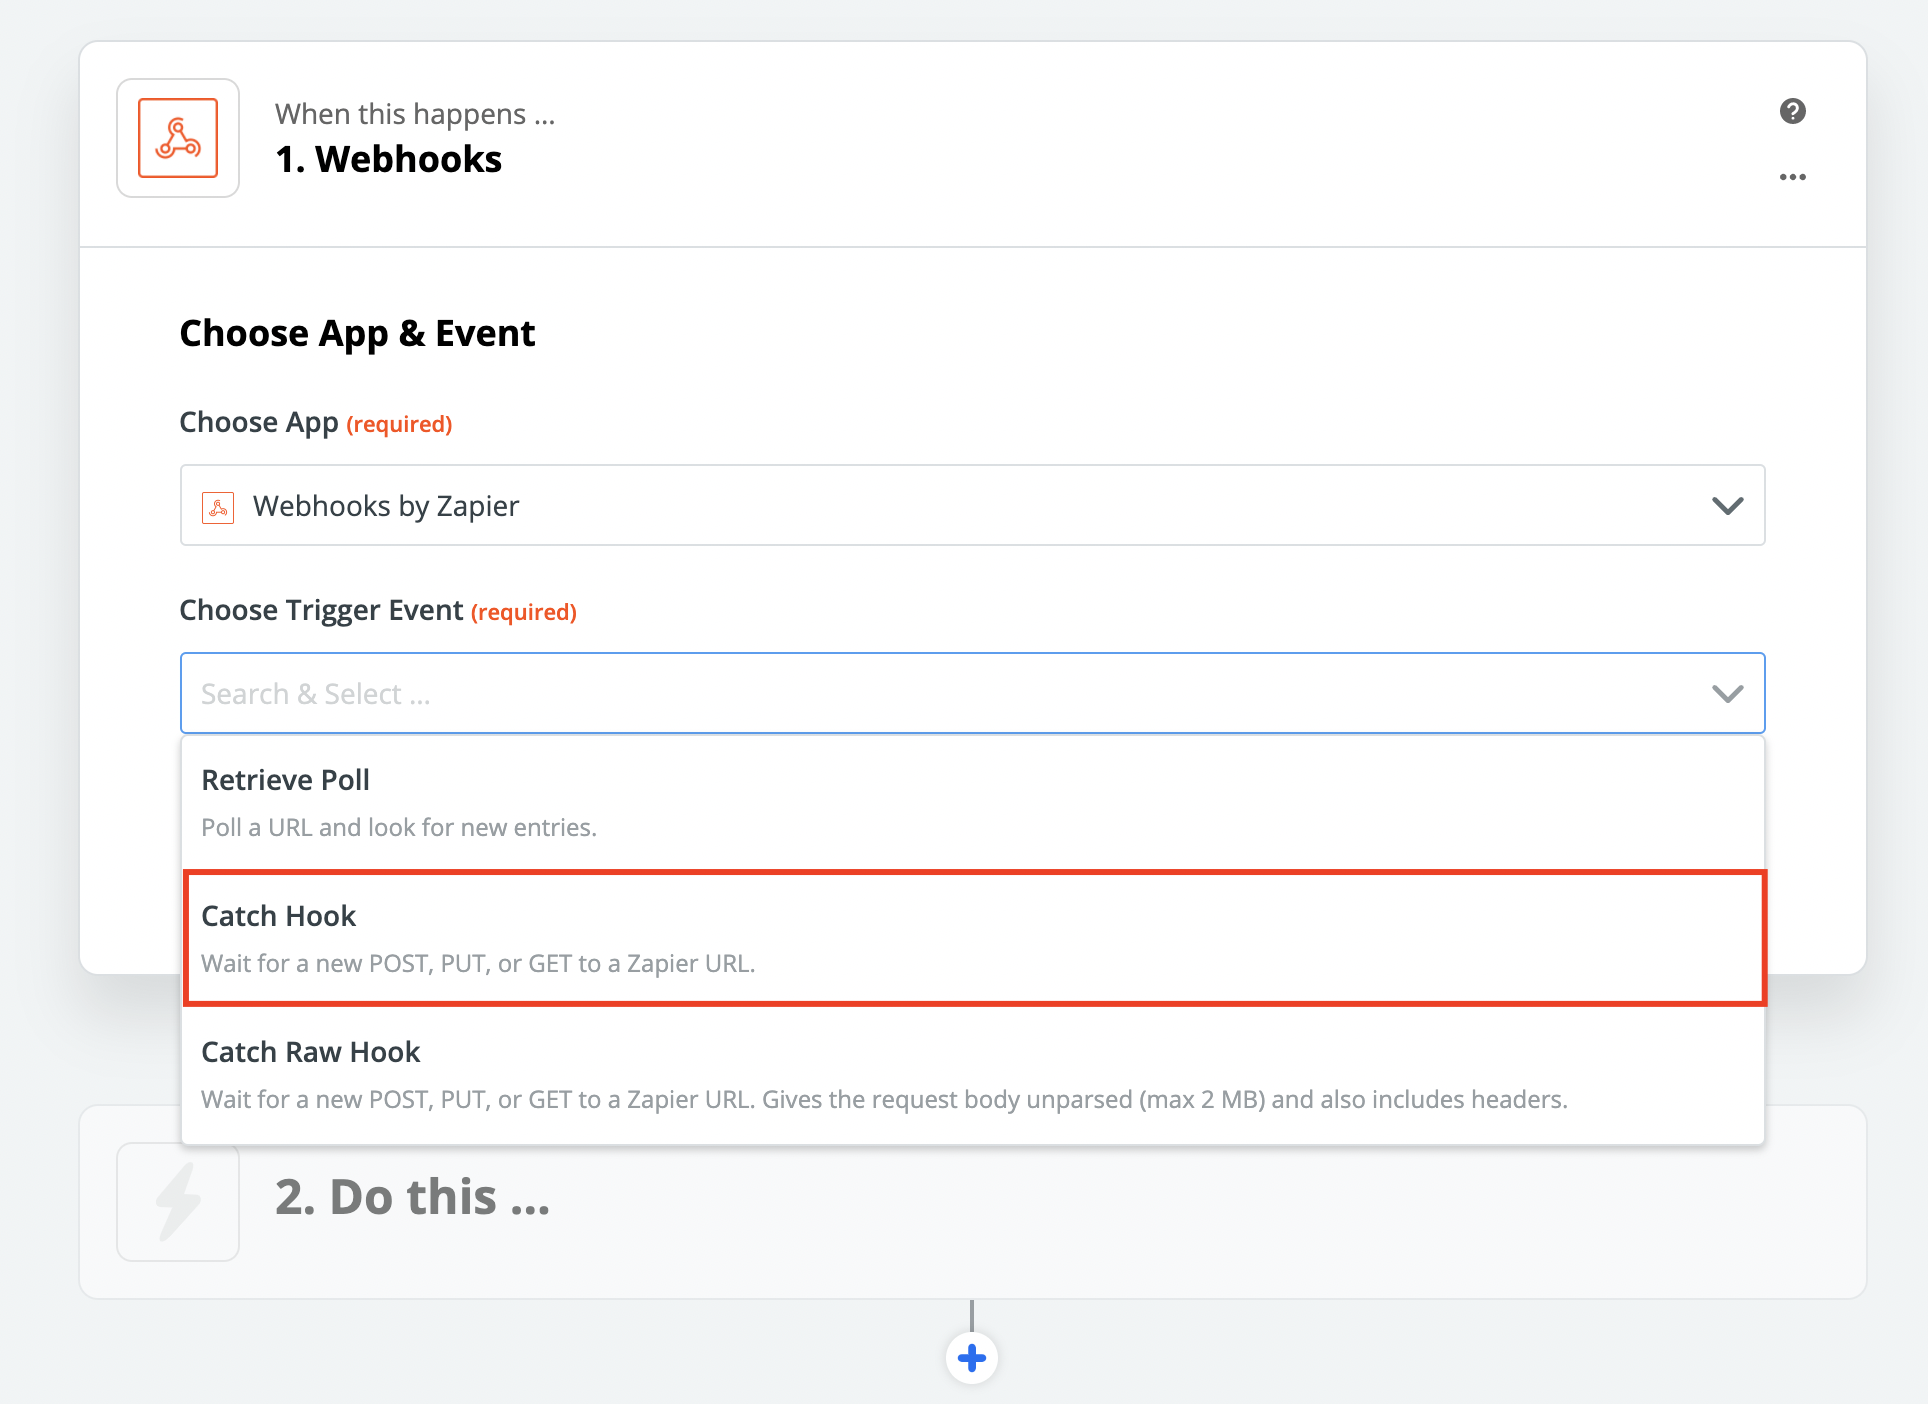
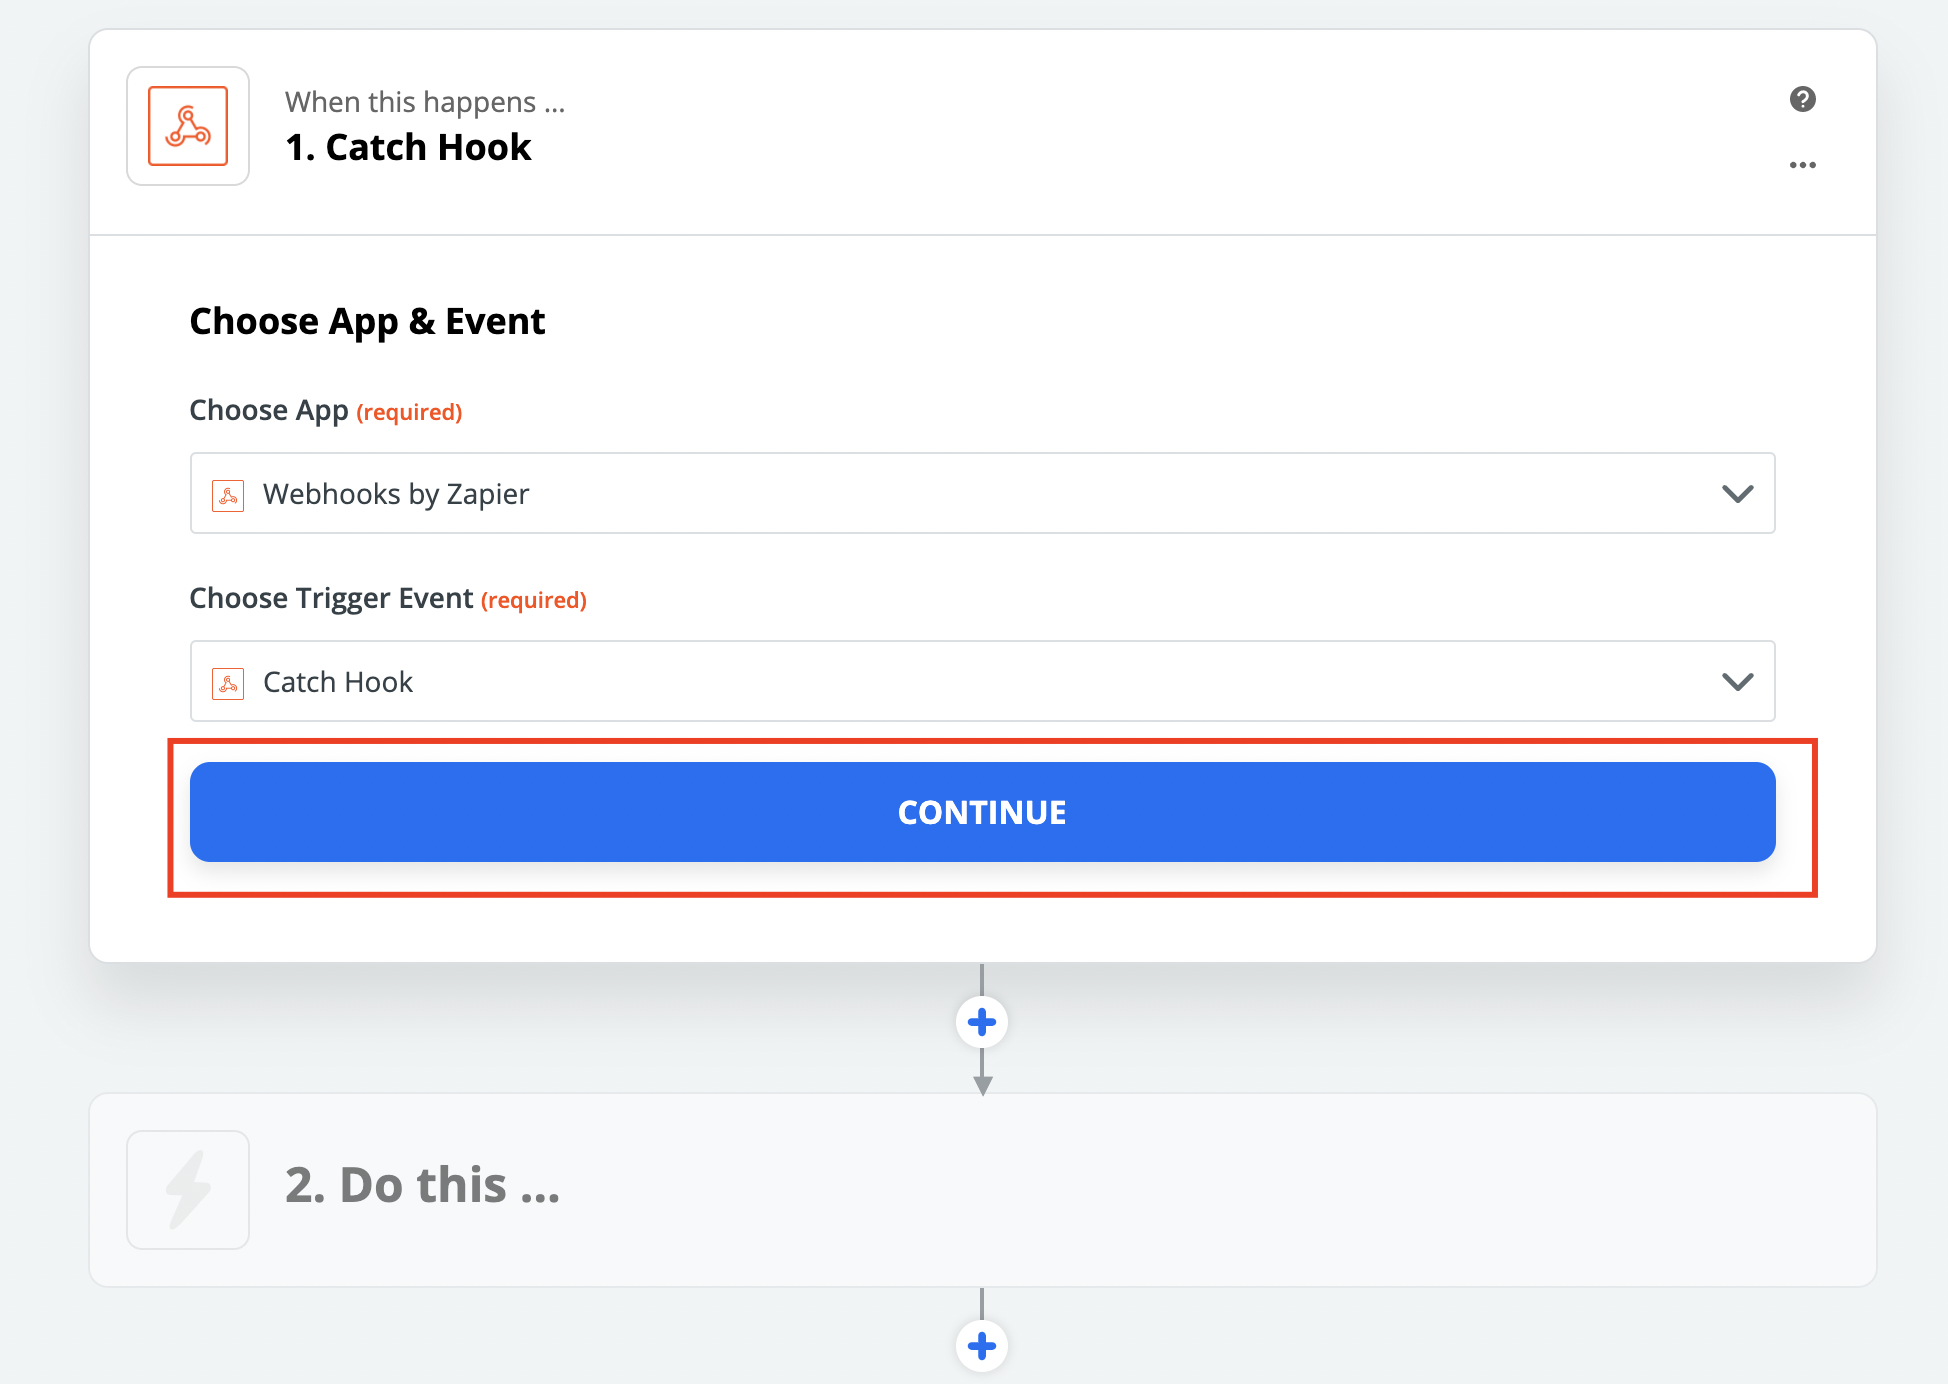
Once you have the App and the Trigger options selected click Continue.
Step 8. In the next step you’ll get a custom, unique Webhook that you’ll need in Station. Copy the Webhook URL and then press Continue.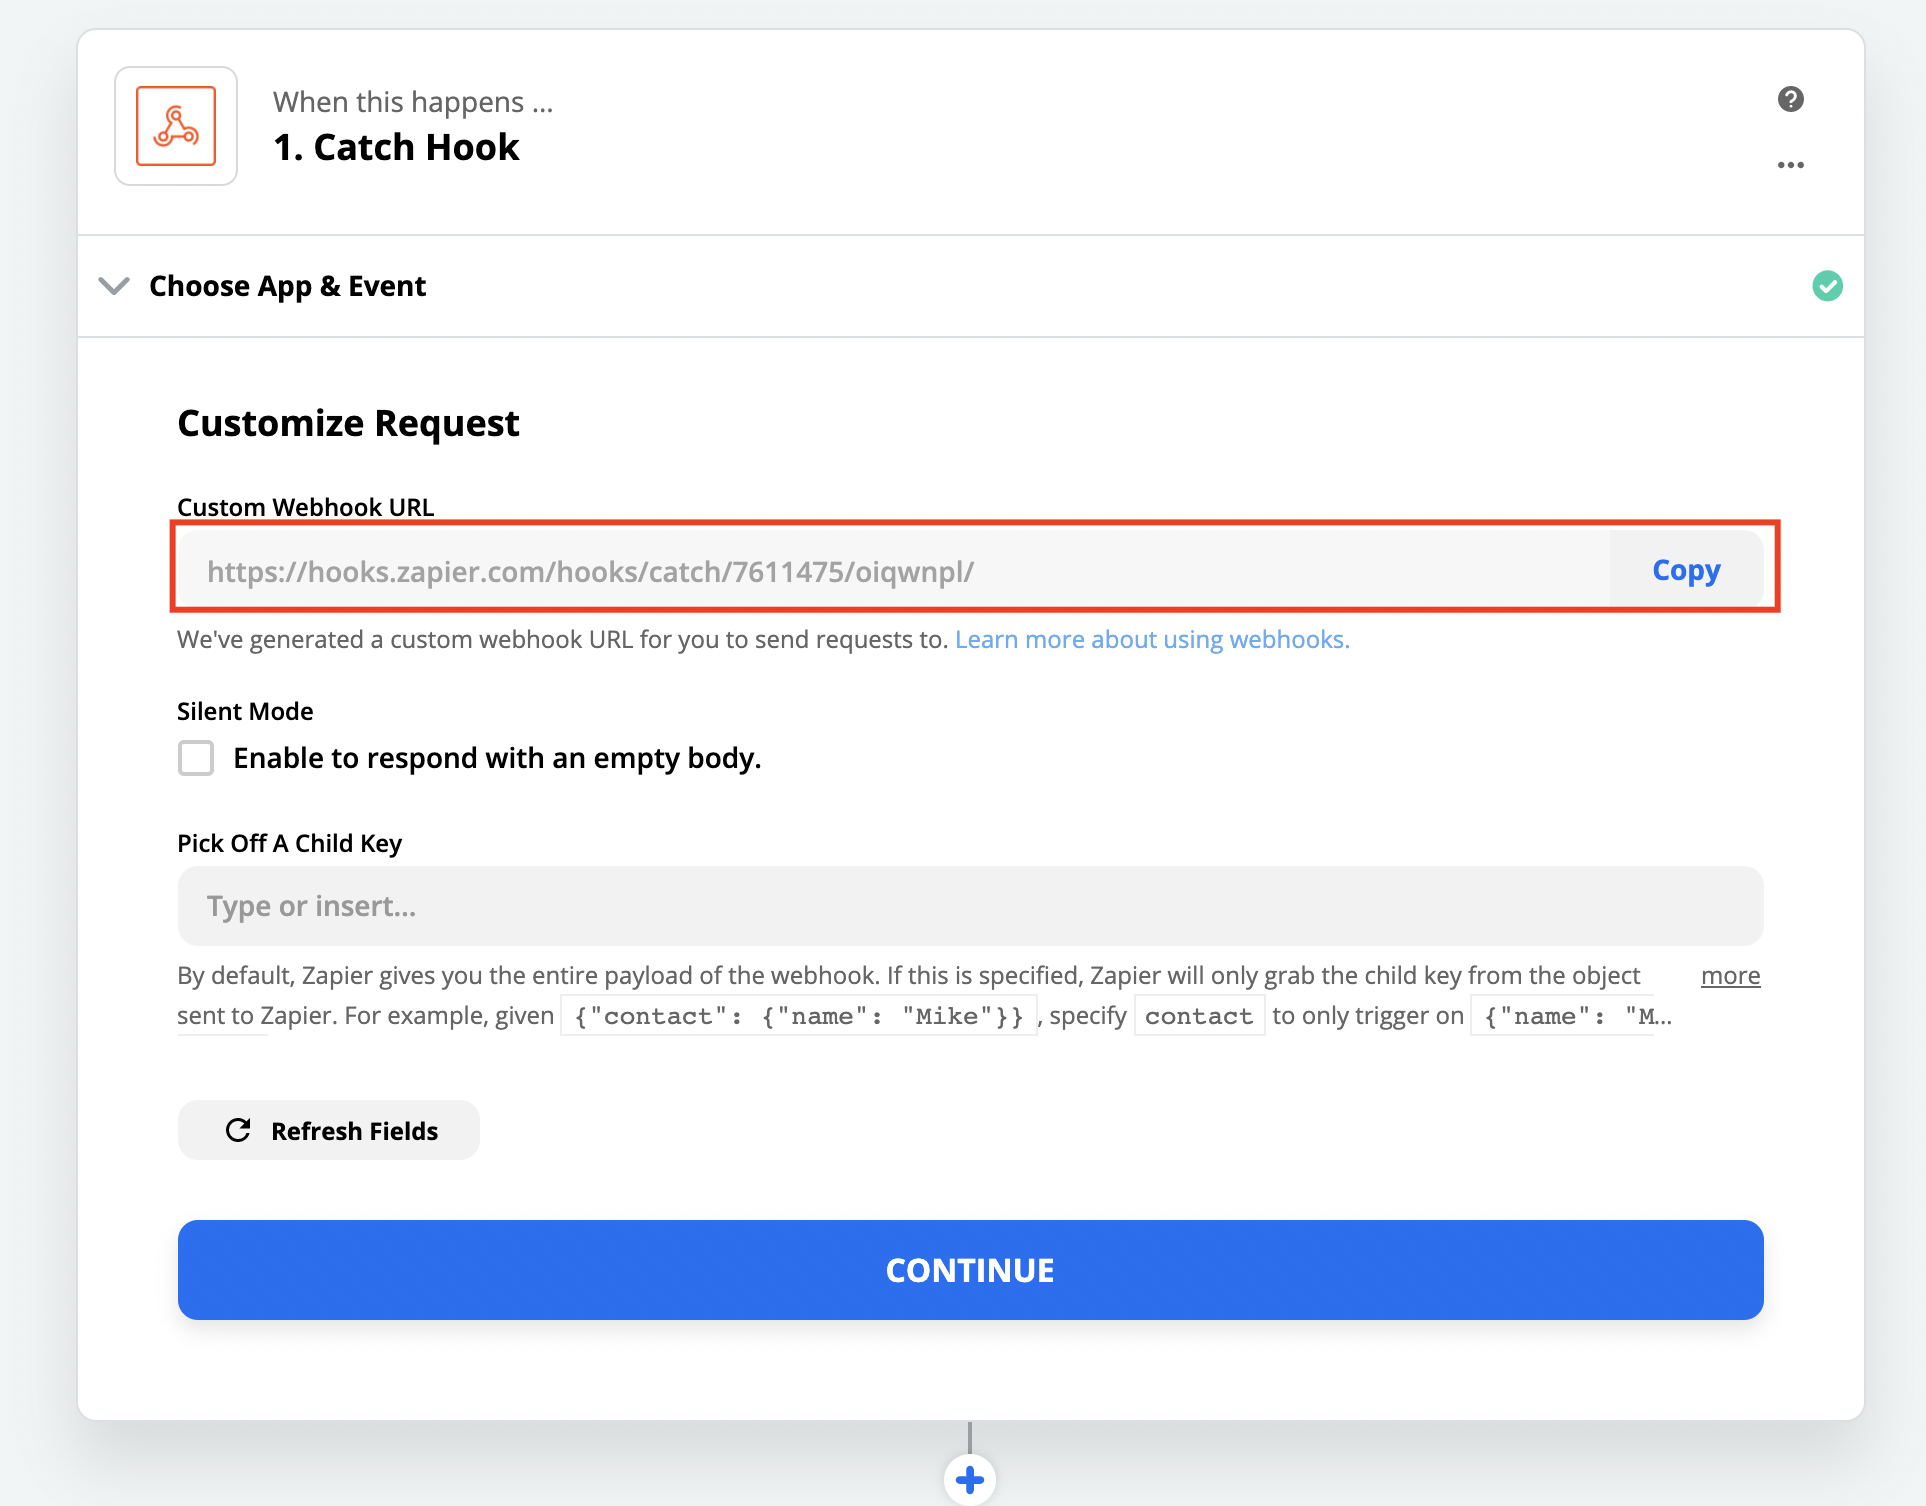
Step 9. Switch to Station and paste the Webhook URL into your Station Integration window. Press Connect.
Step 10. Check if the correct Webhook URL is selected and press Continue
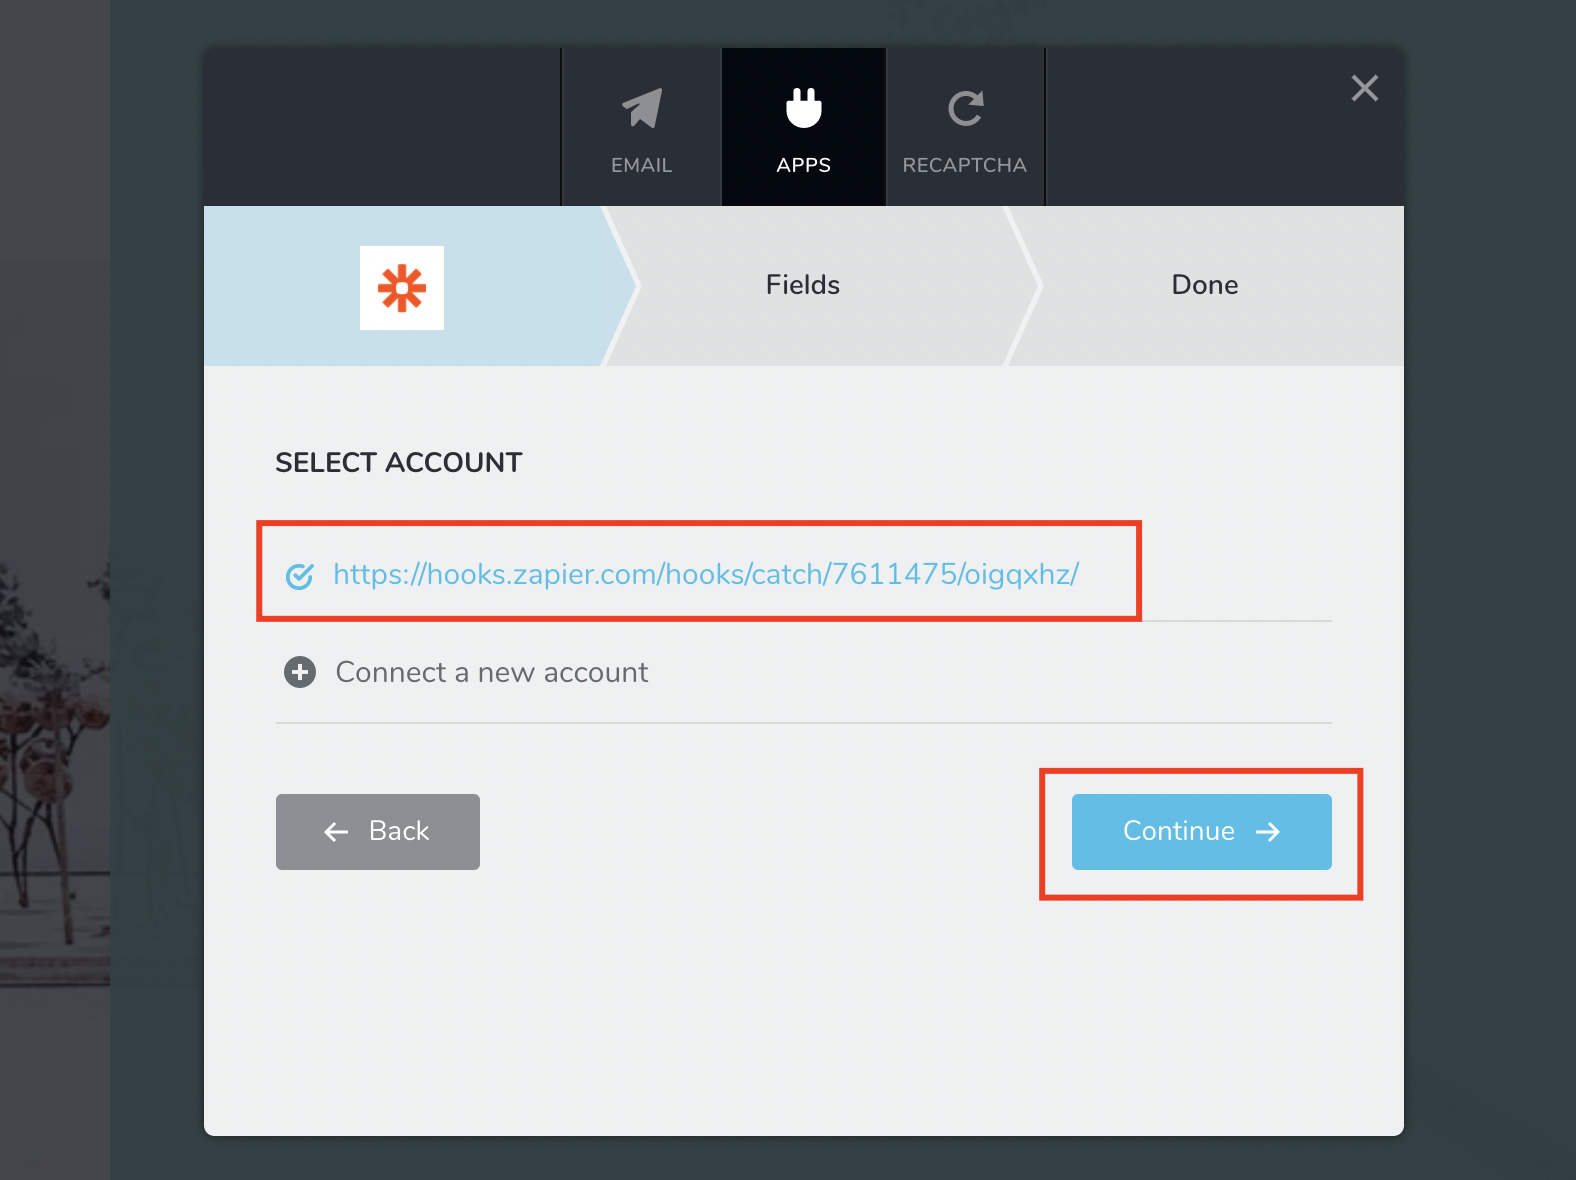
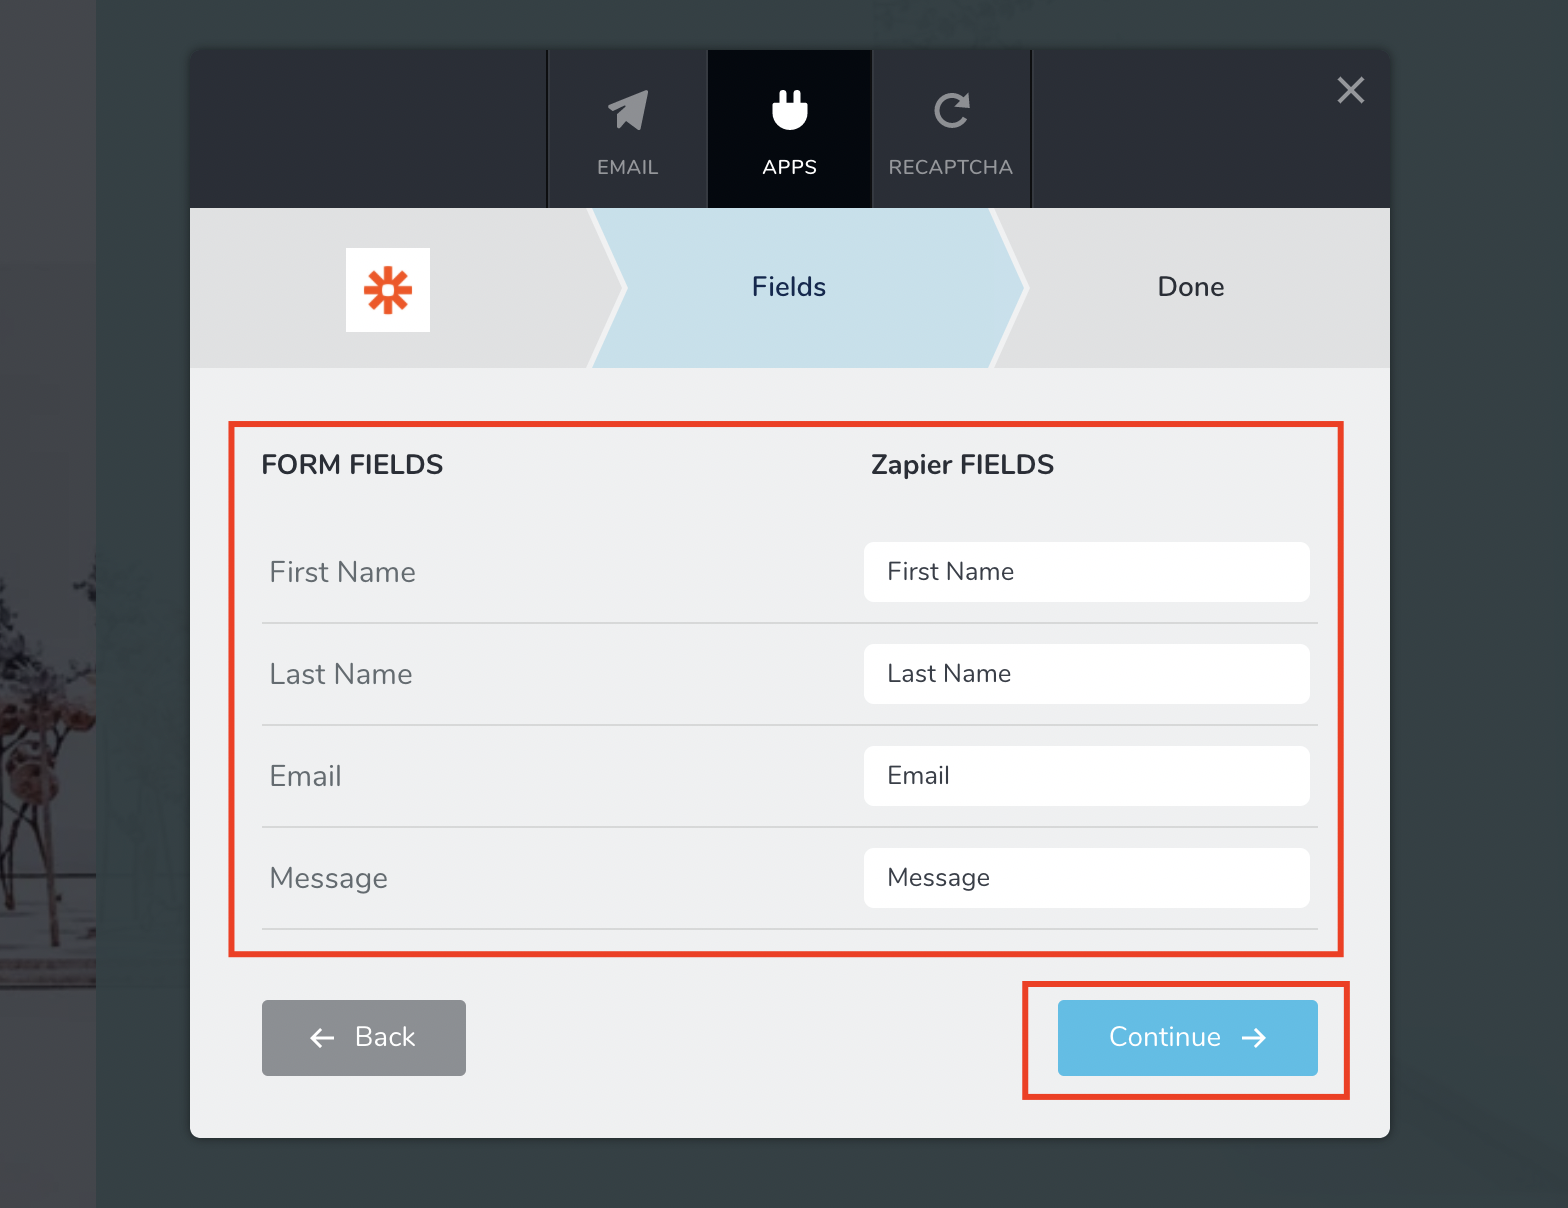
Step 11. Name your Zapier fields accordingly. Usually the same as the Form fields. They will be needed on the Zapier side and it is important you recognise them.
Press the Continue button.
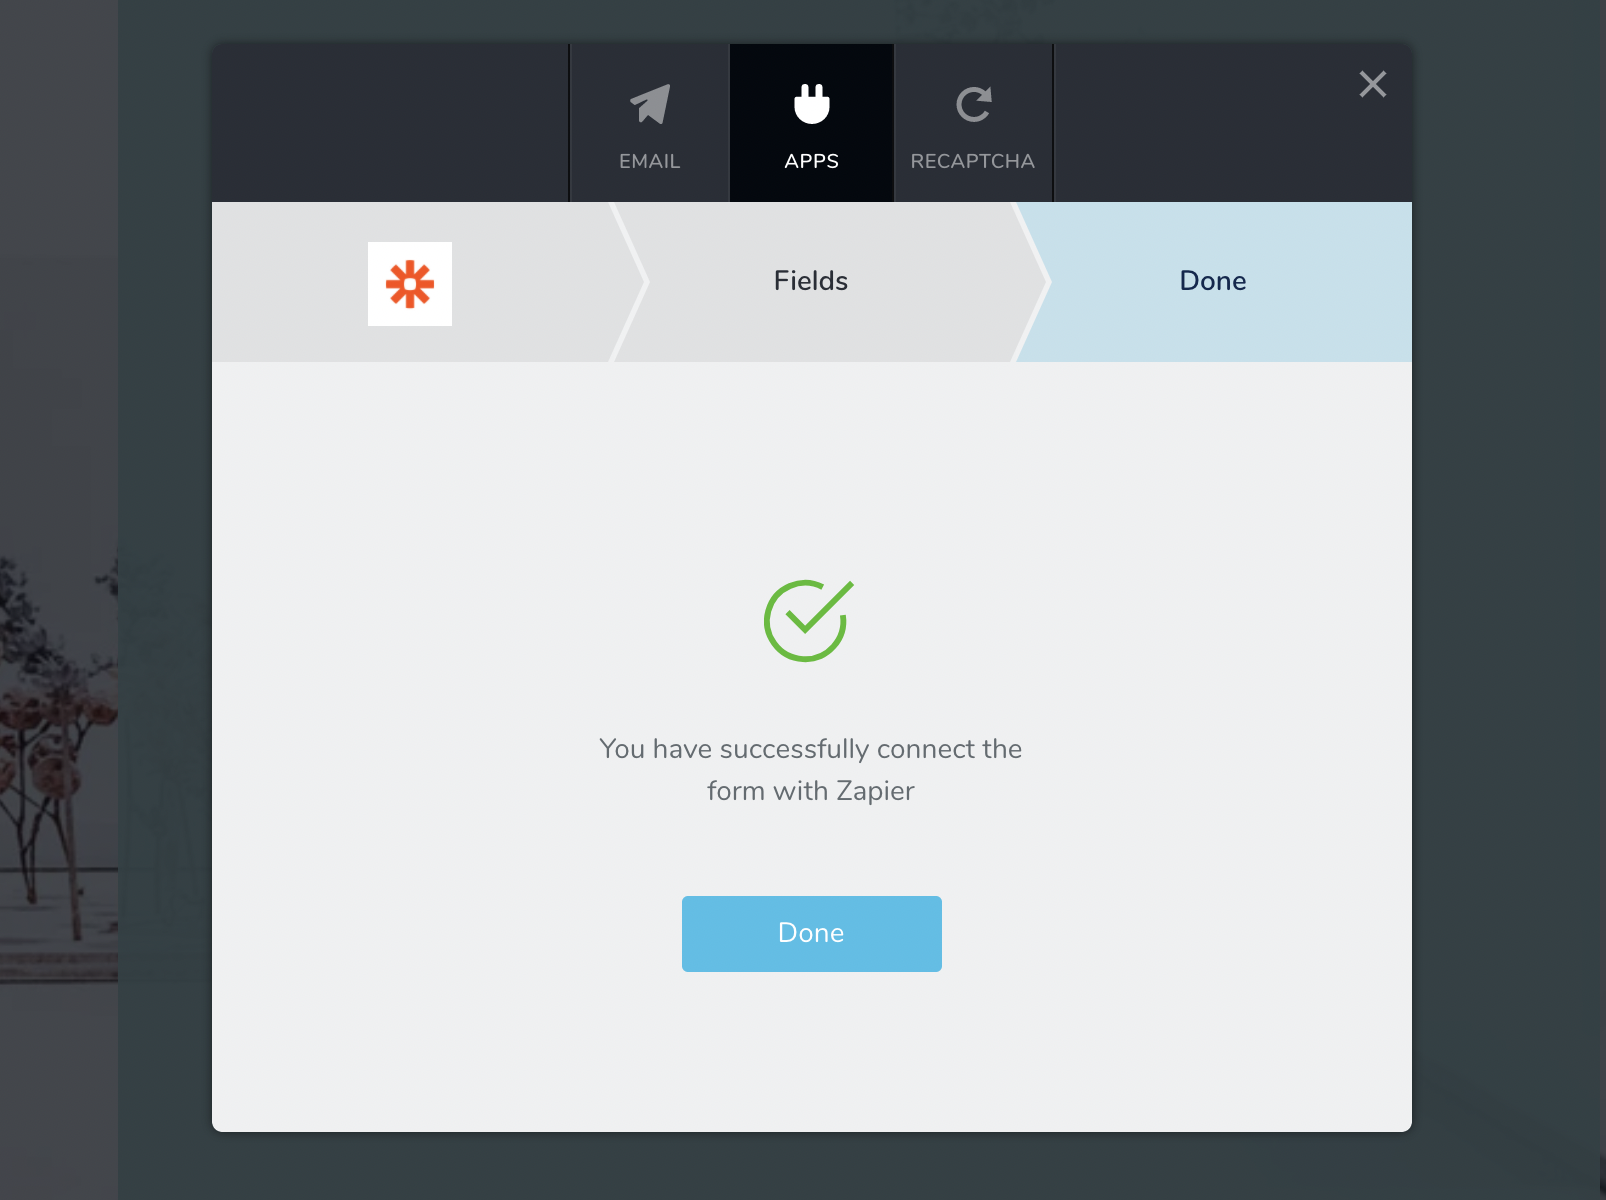
Step 12. You are done, your form is connected with Zapier. Press Done.
Part II. Testing the contact form info is picked up by Zapier #
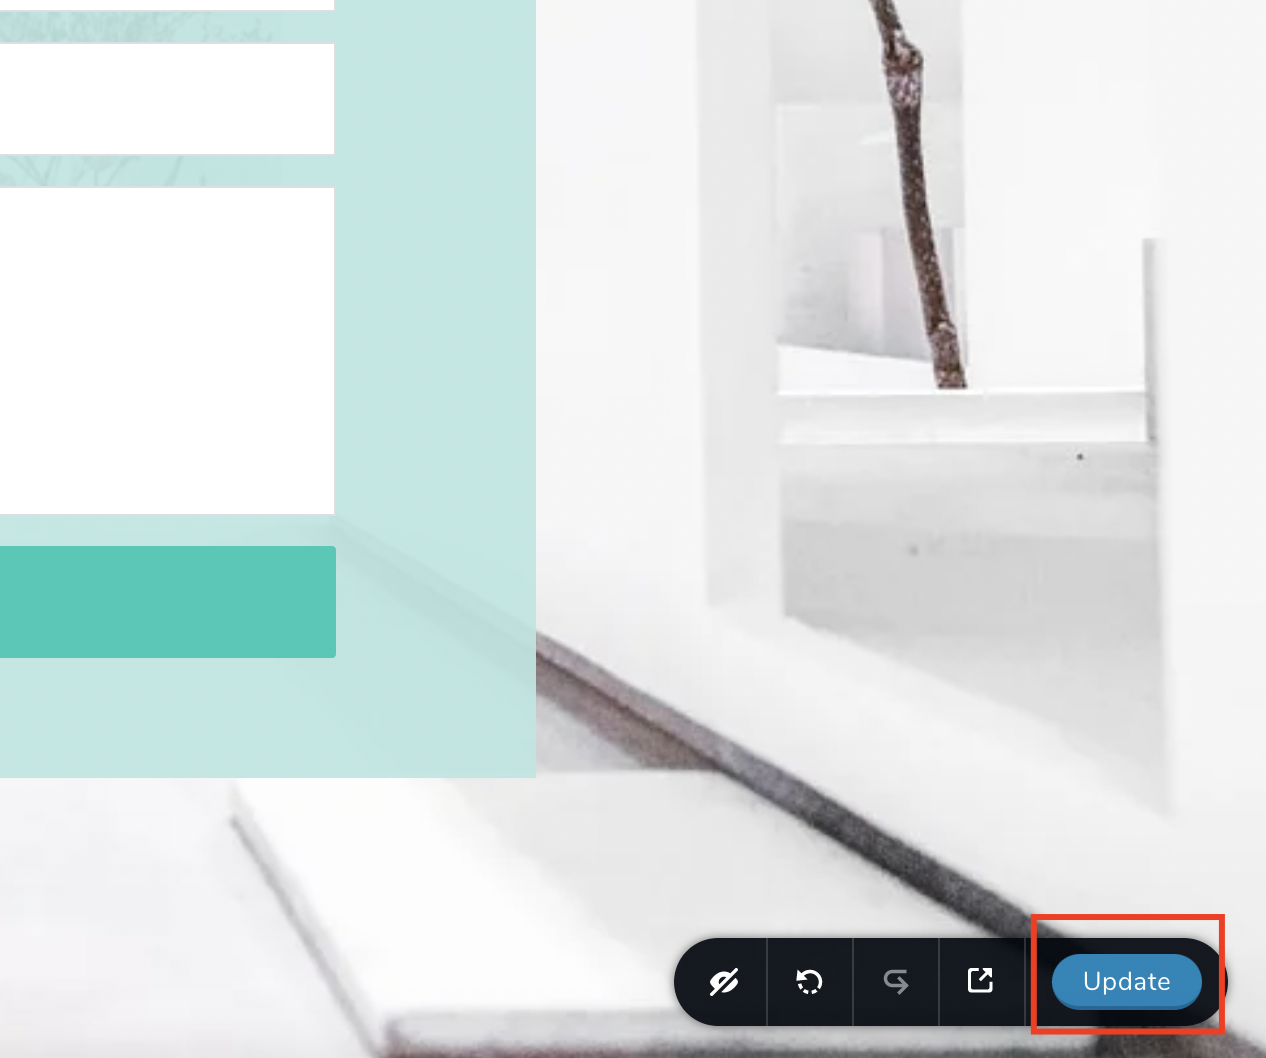
Step 13. Update your page and go on the front end of your website.
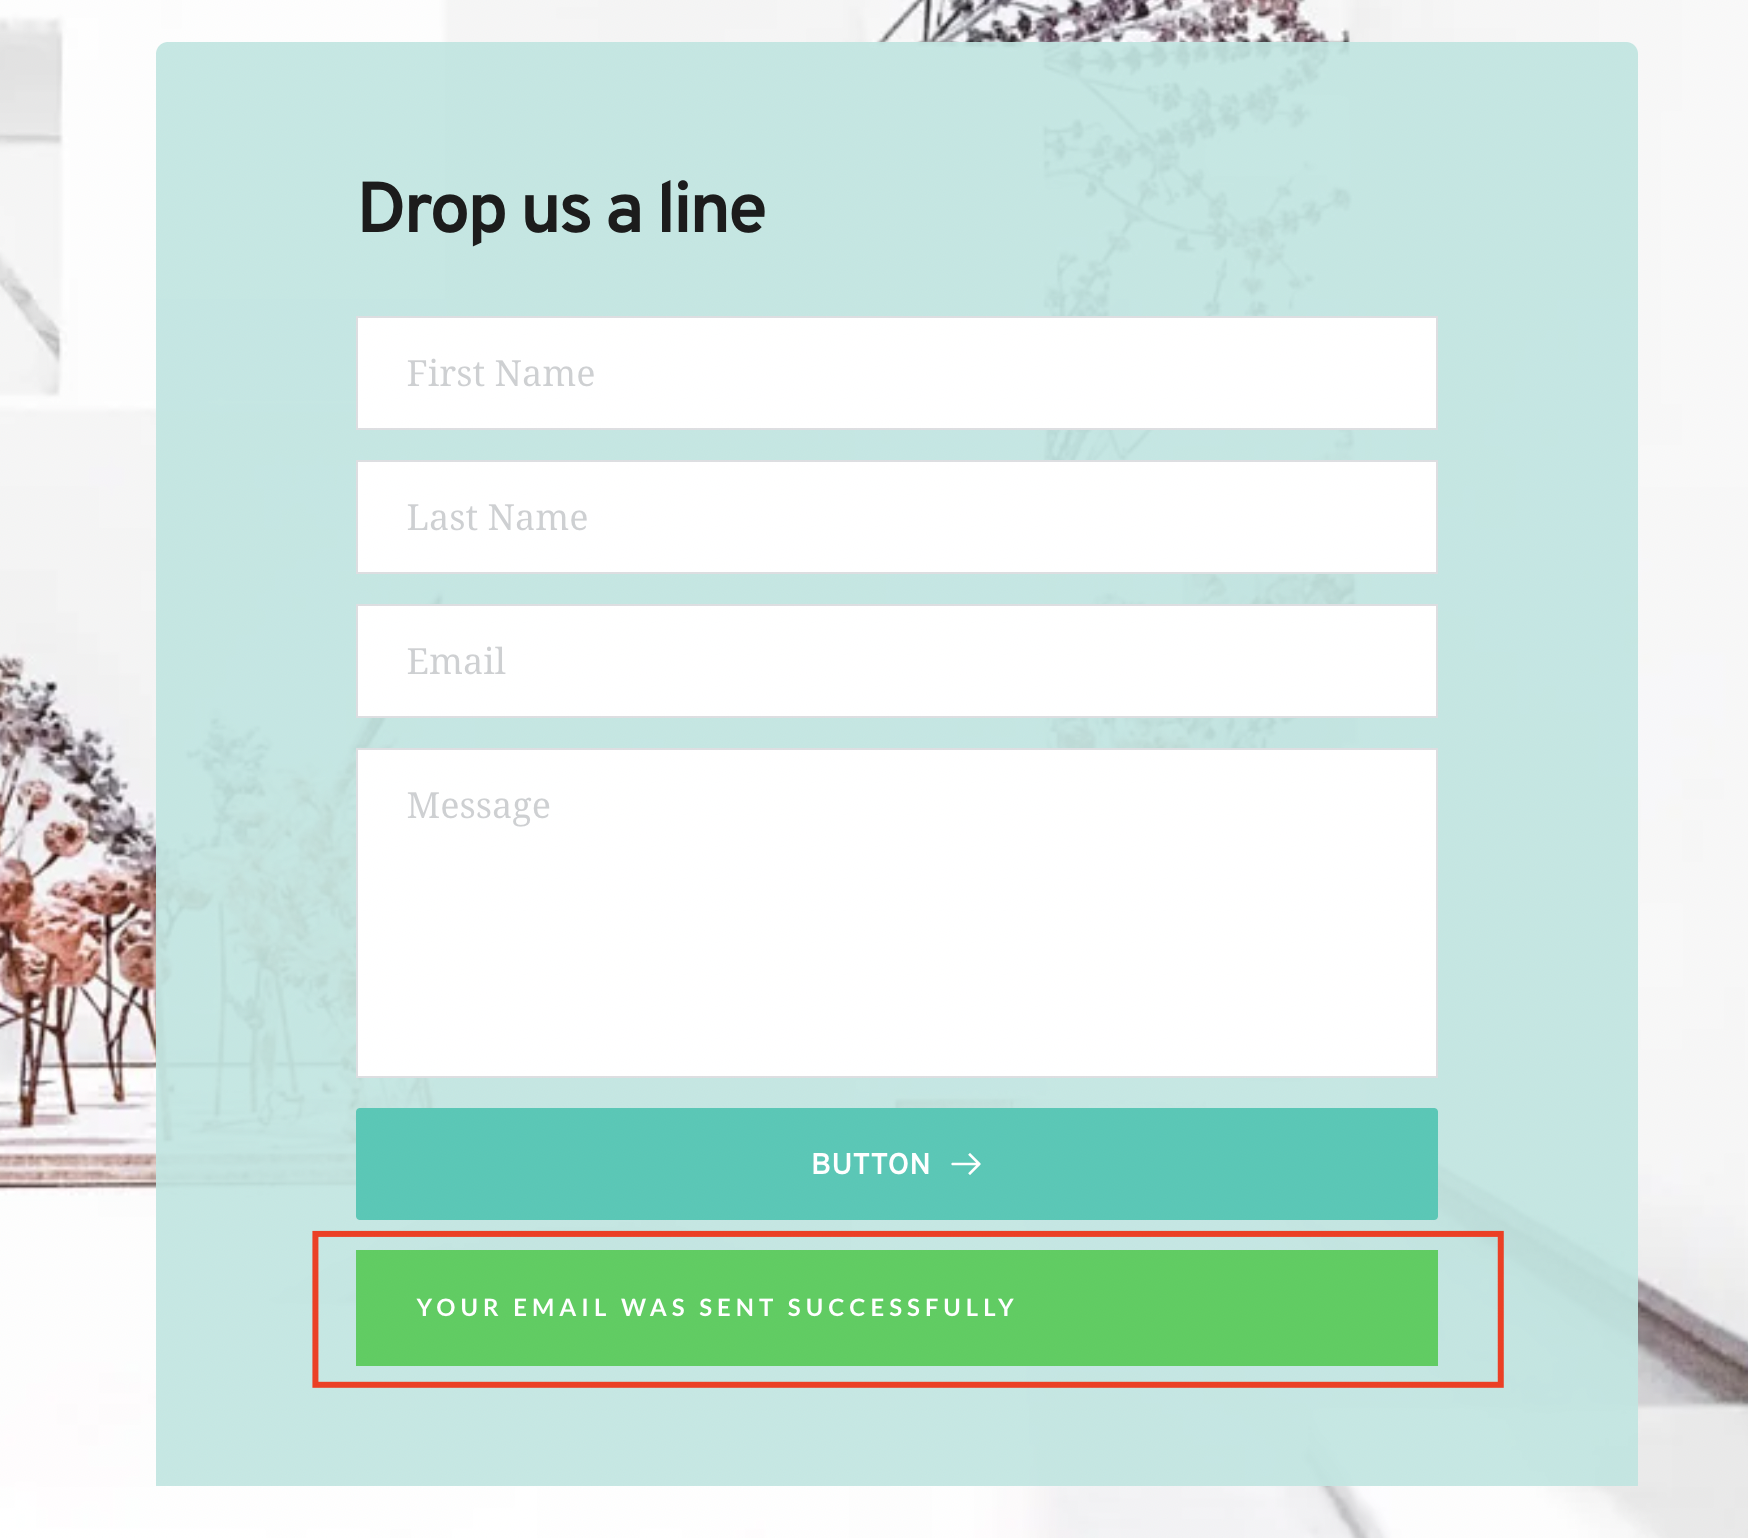
Step 14. Fill in the form and submit it. If the form is sent successfully, the success message should appear.
Step 15. Go back to Zapier. If you continue where we left off (Step 8.). Give it a minute or two and press Test trigger button.
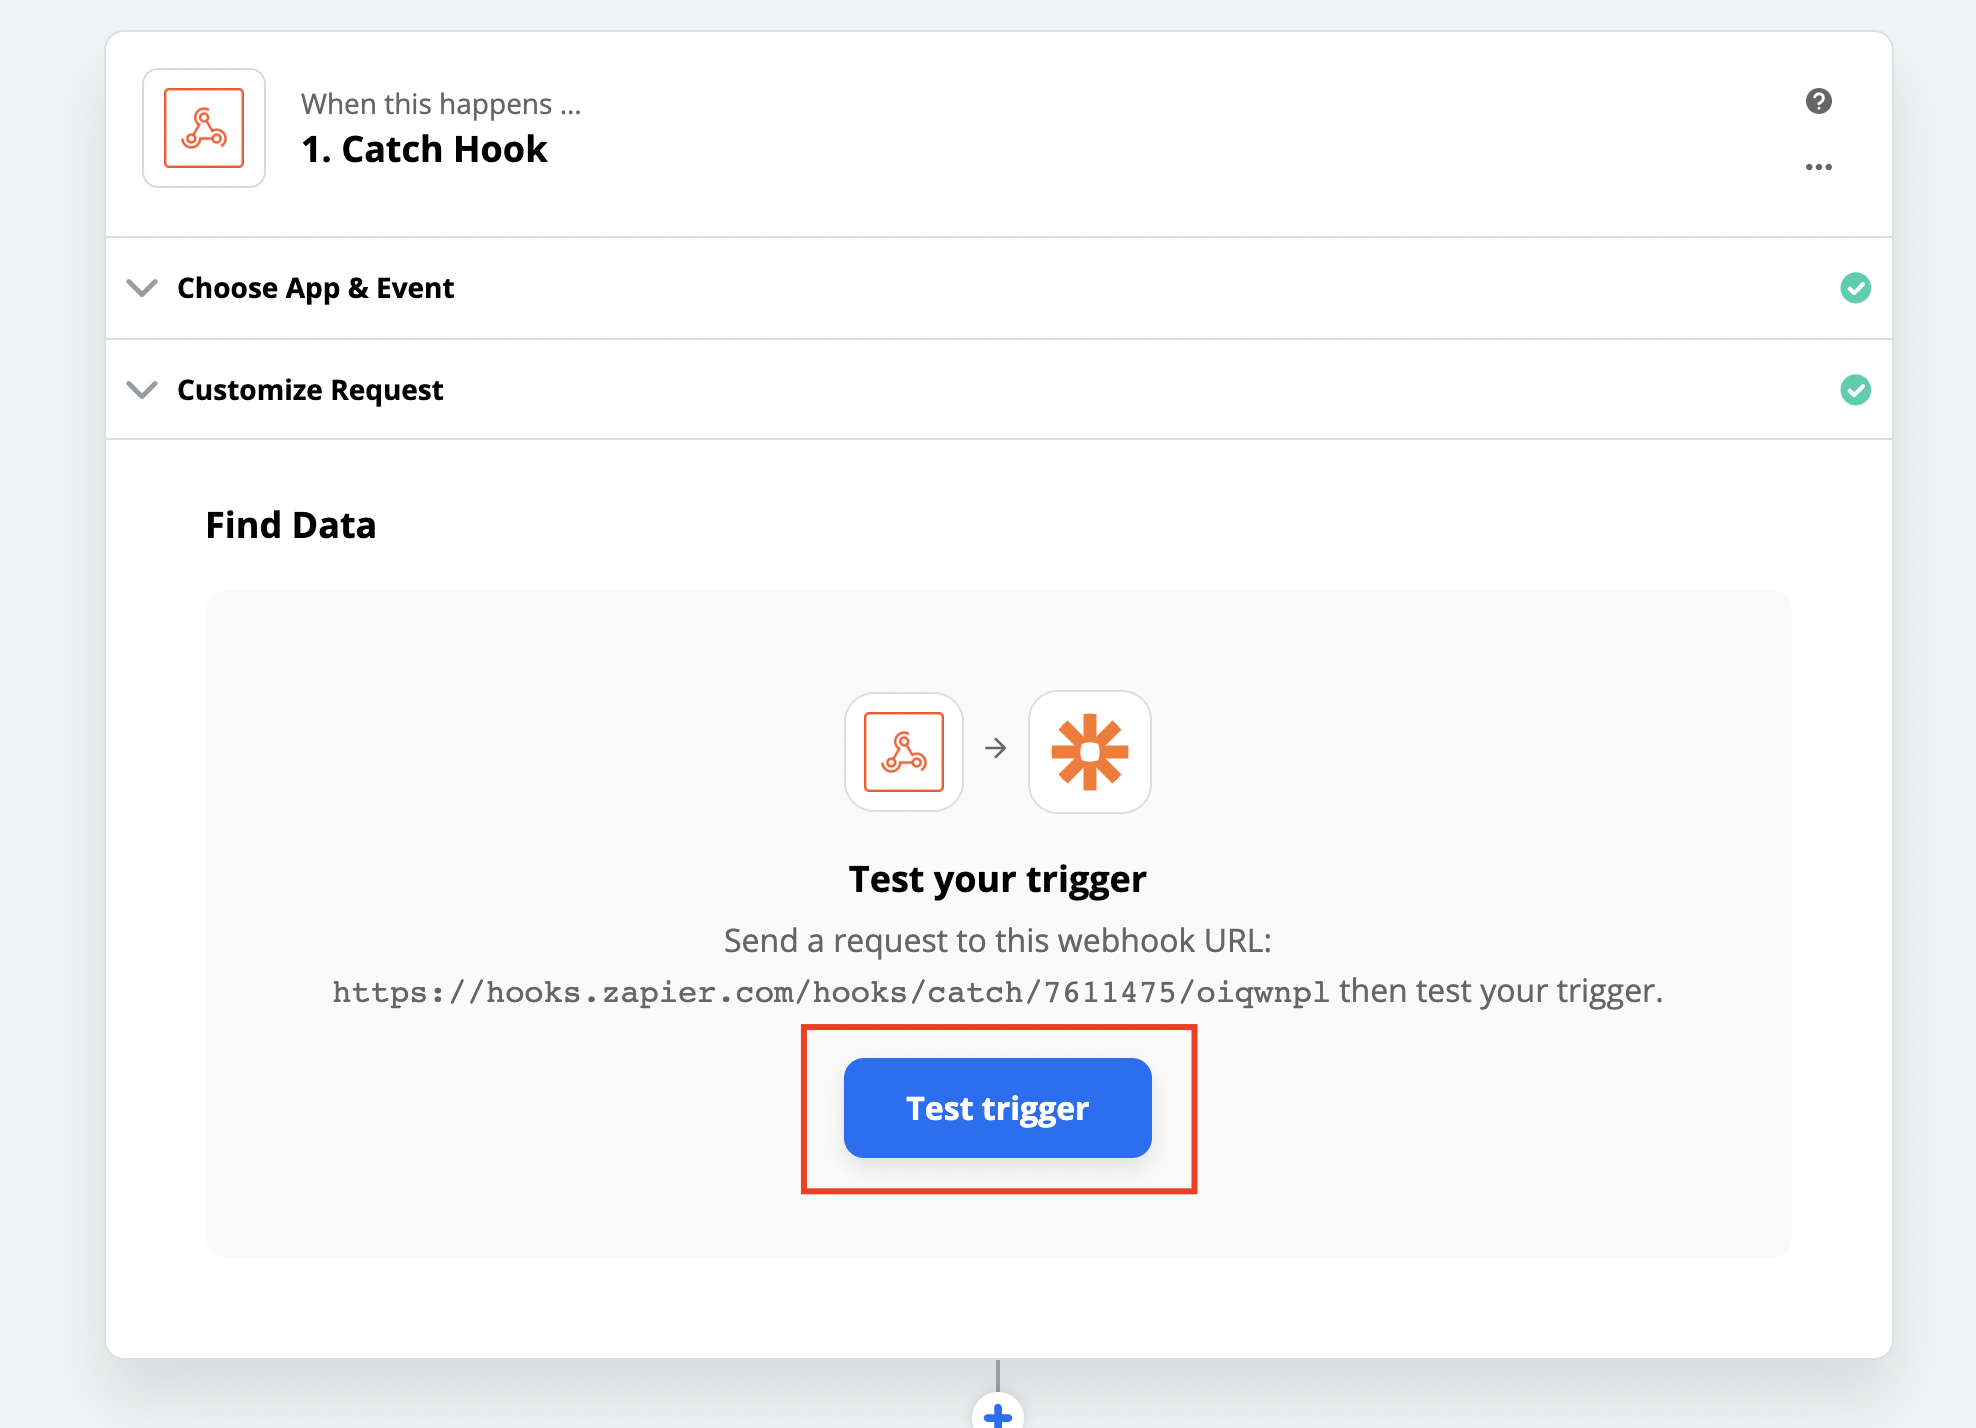
Step 16. If the request went through to Zapier, you’ll see the fields populate within Zapier. Press Continue.
Up until now we’ve linked Station with Zapier and made sure that the contact form info is picked up by Zapier. From this point on it is your call what app you’ll link and what you’ll do with the contact form info.
It mainly depends on what you want to achieve going forward. In the following example we’ve choose to push it to our Mailchimp account as a new subscriber.
Part III. Pushing the contact form info to an app via Zapier #
Step 17. Choose App & Event. That is the app where the contact form info will be pushed. The Event represents what action Zapier will perform in that app.
In our example we’ve choose Mailchimp for the app, and Add/Update Subscriber as the event. Press Continue.
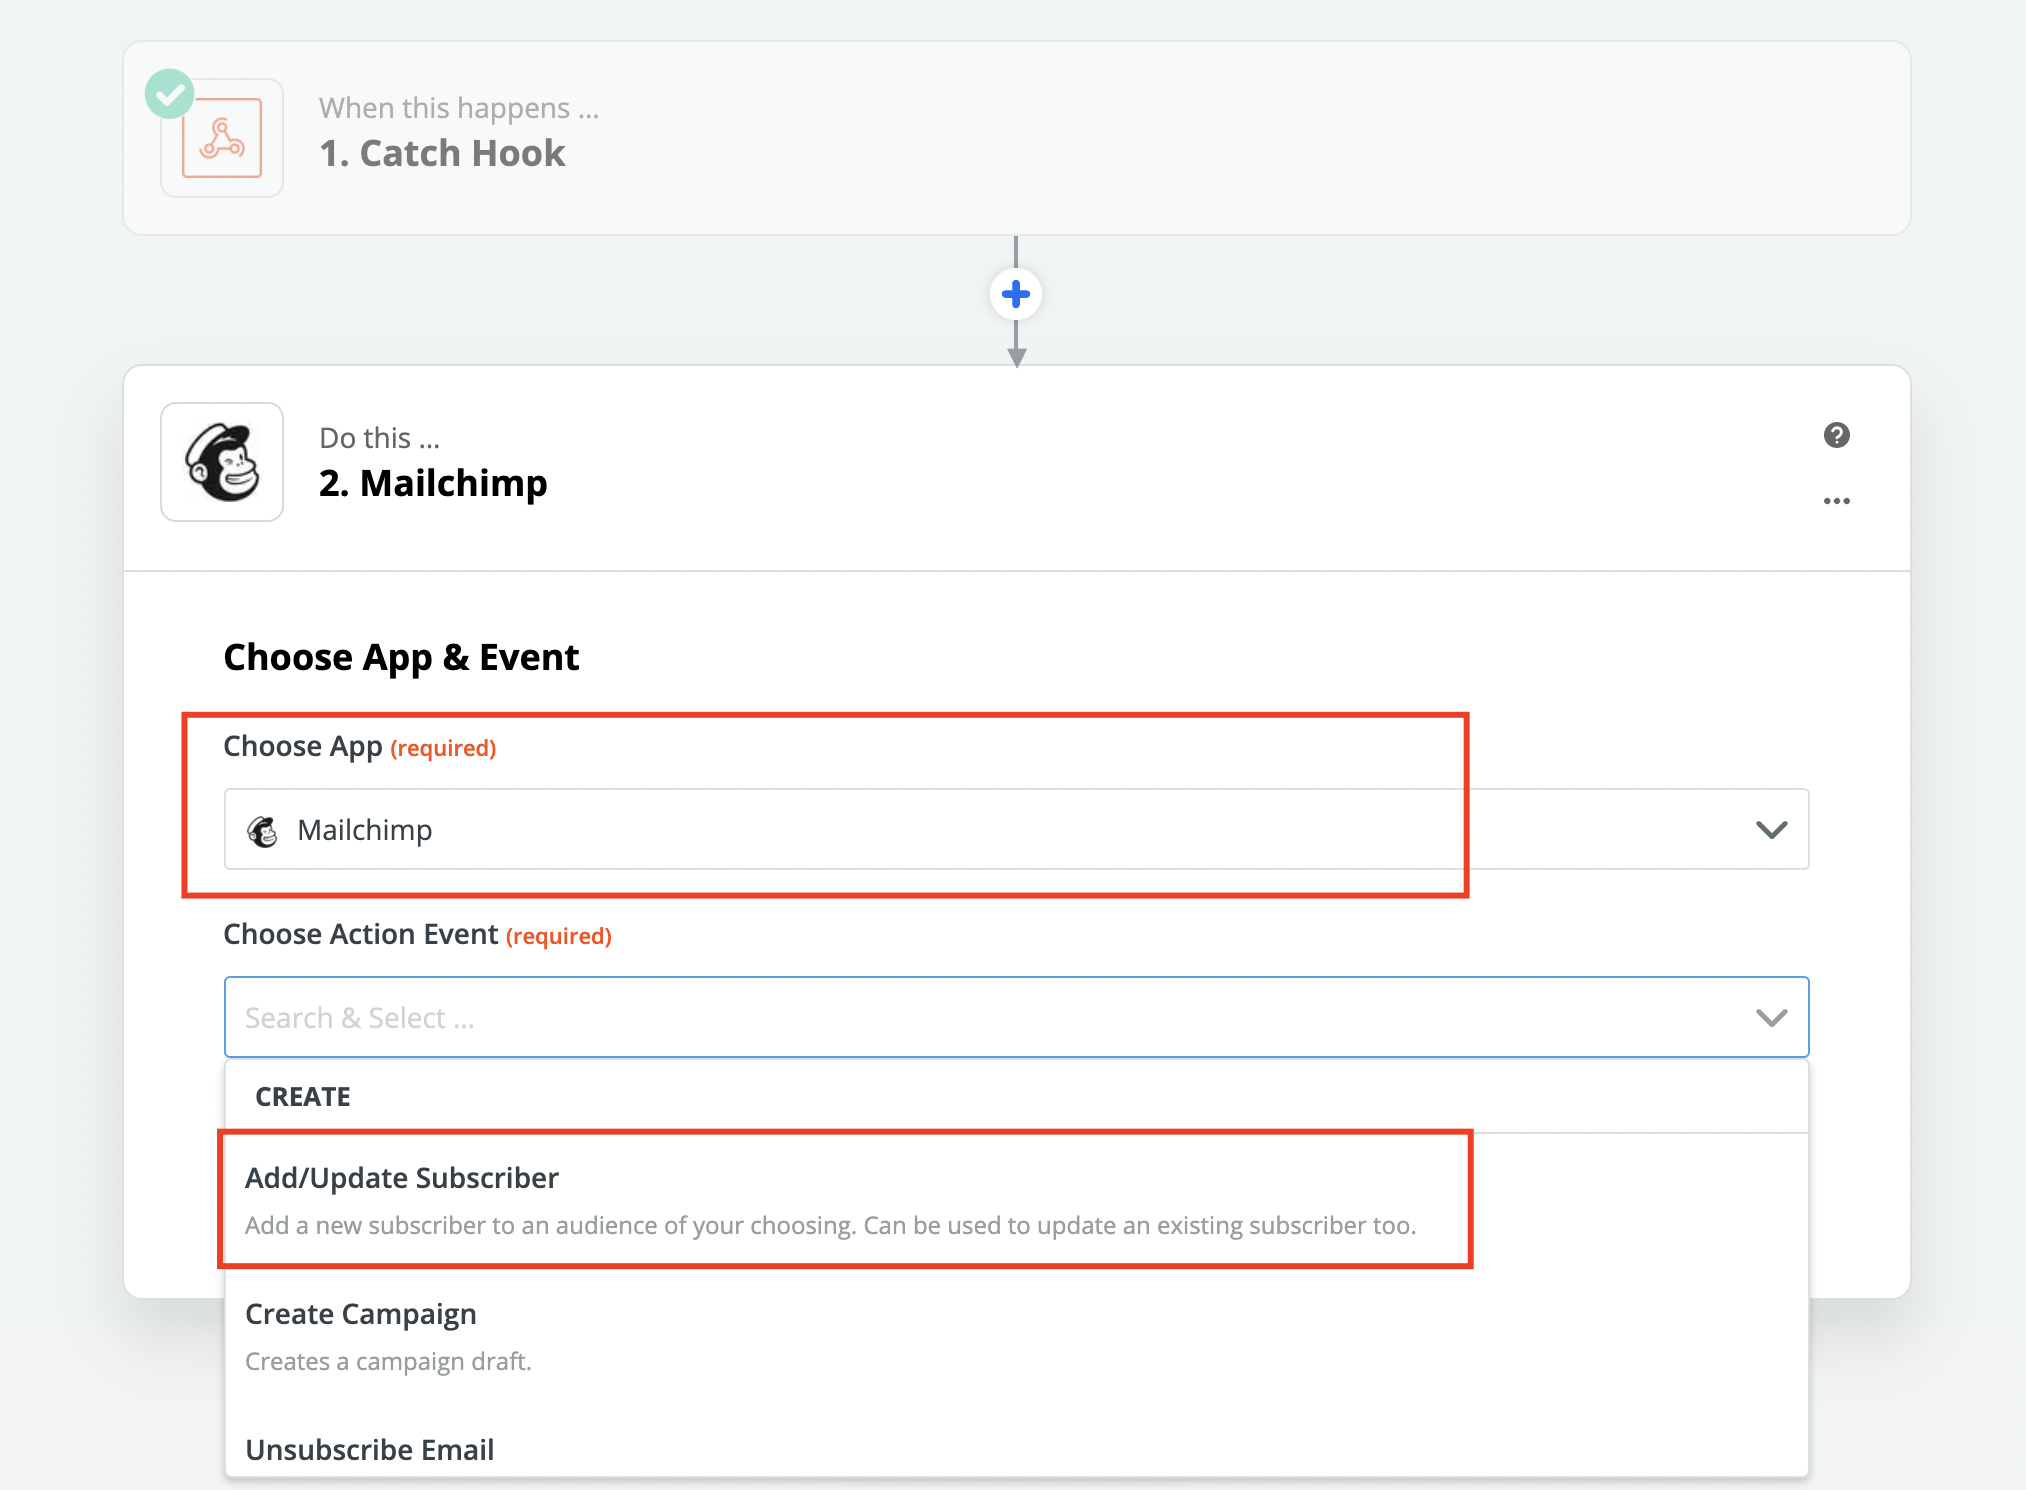
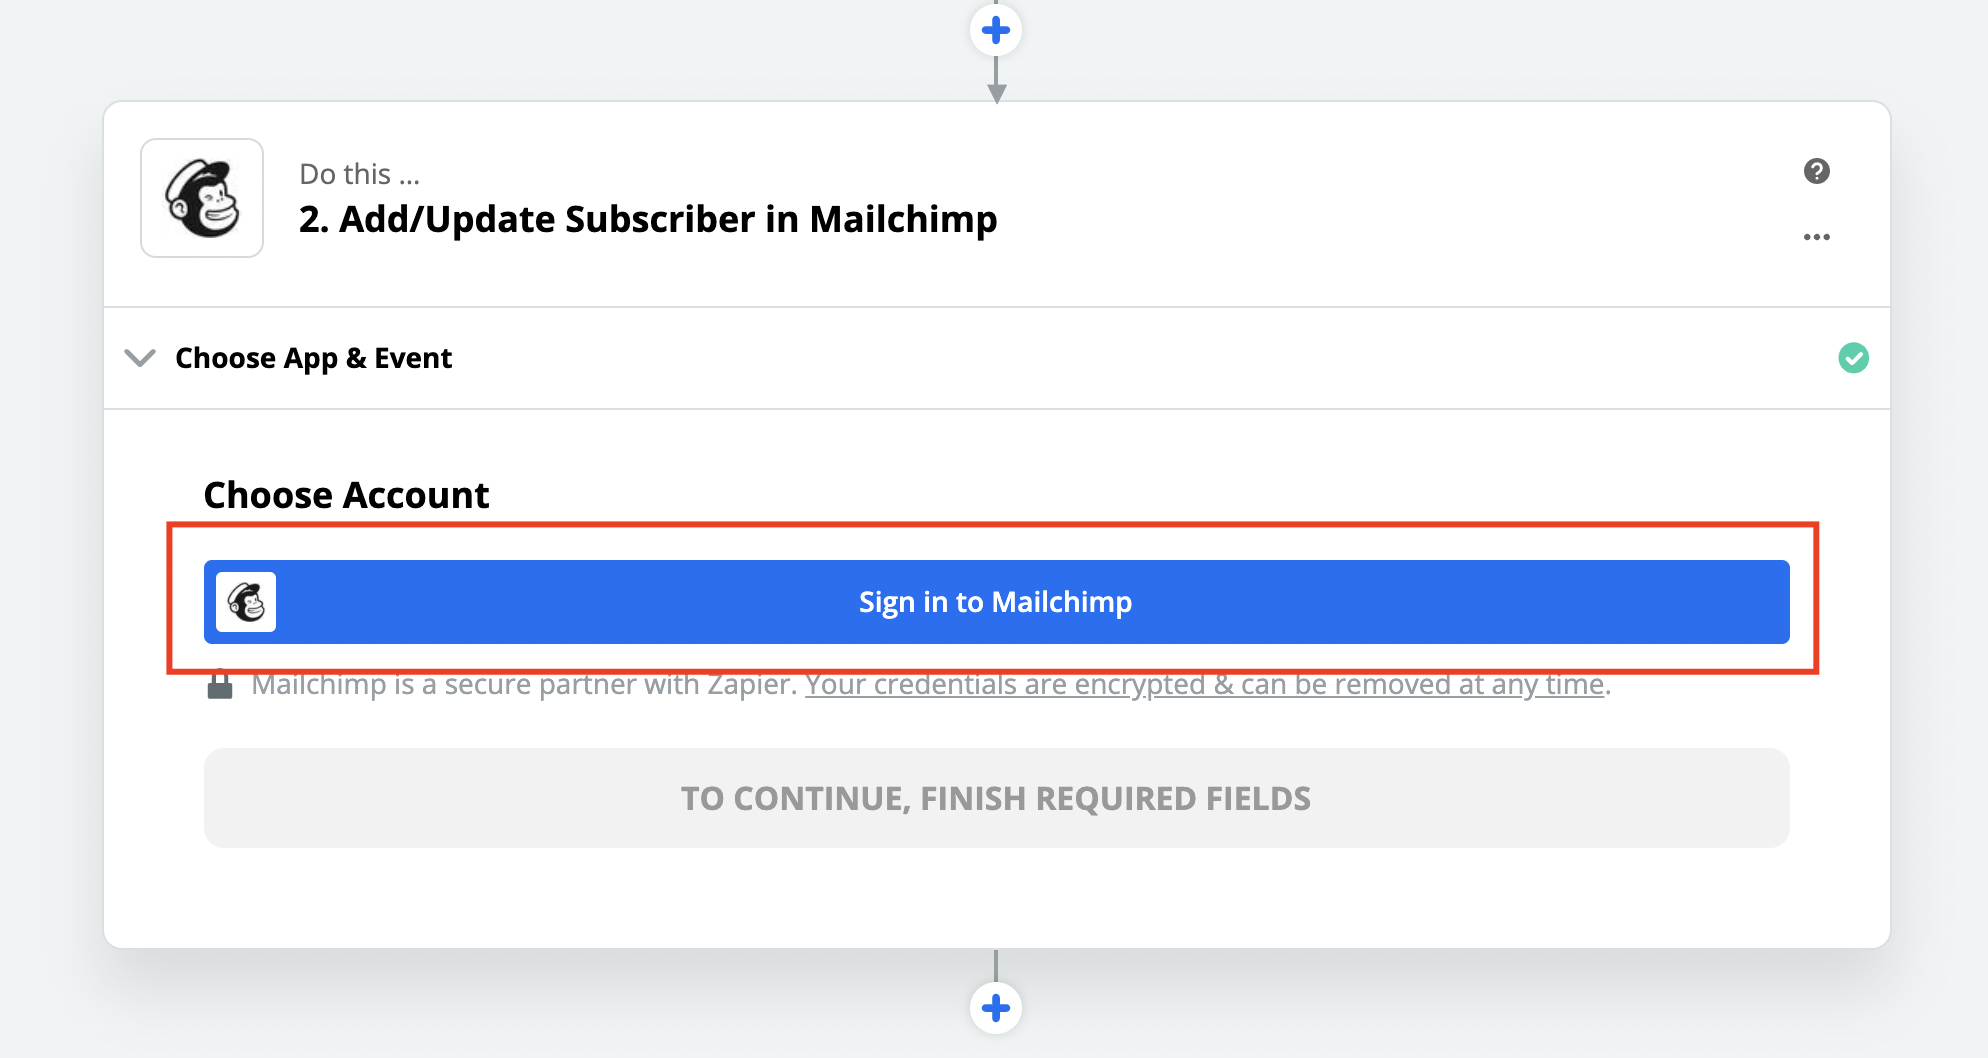
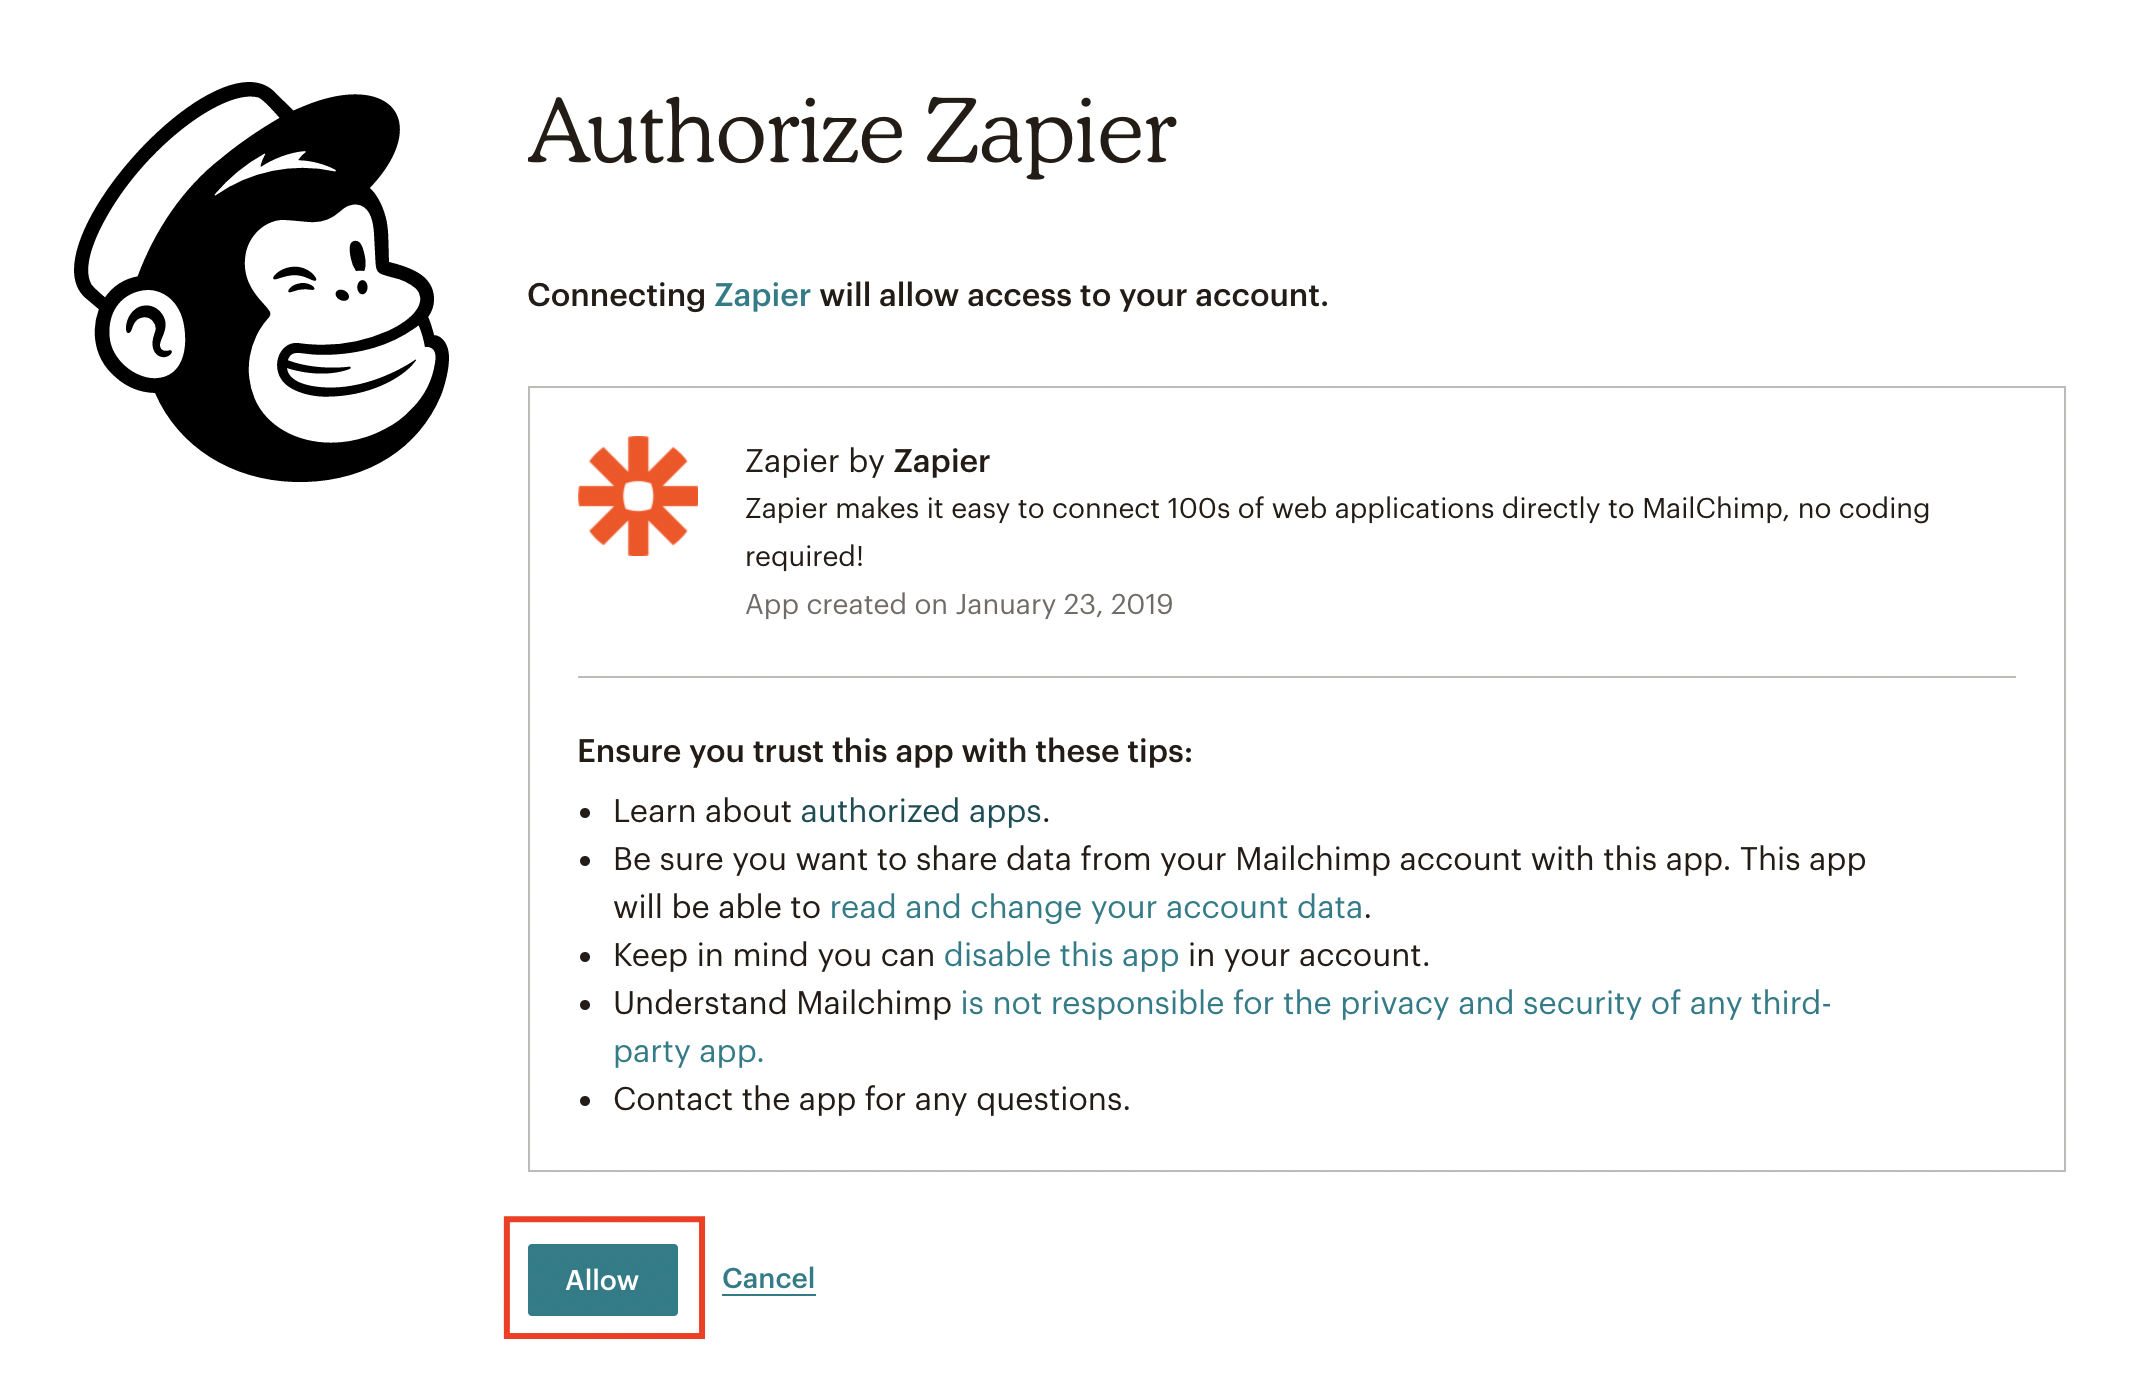
Step 18. Link your Mailchimp account
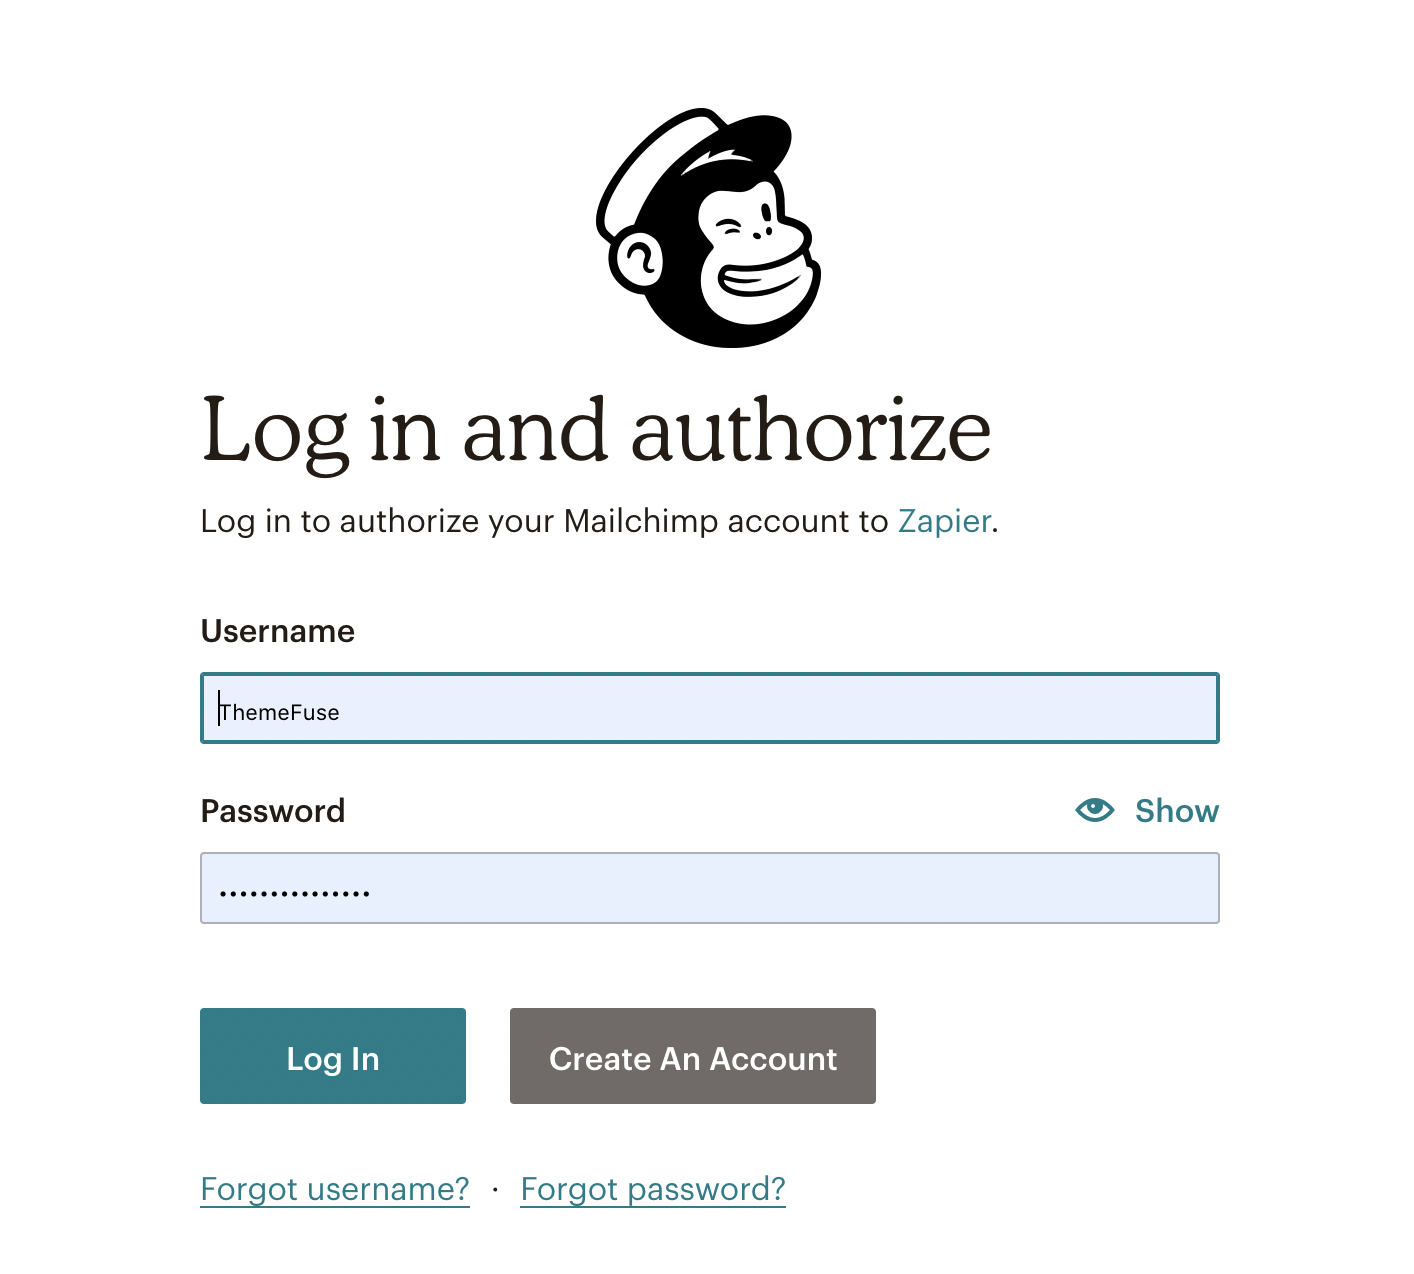
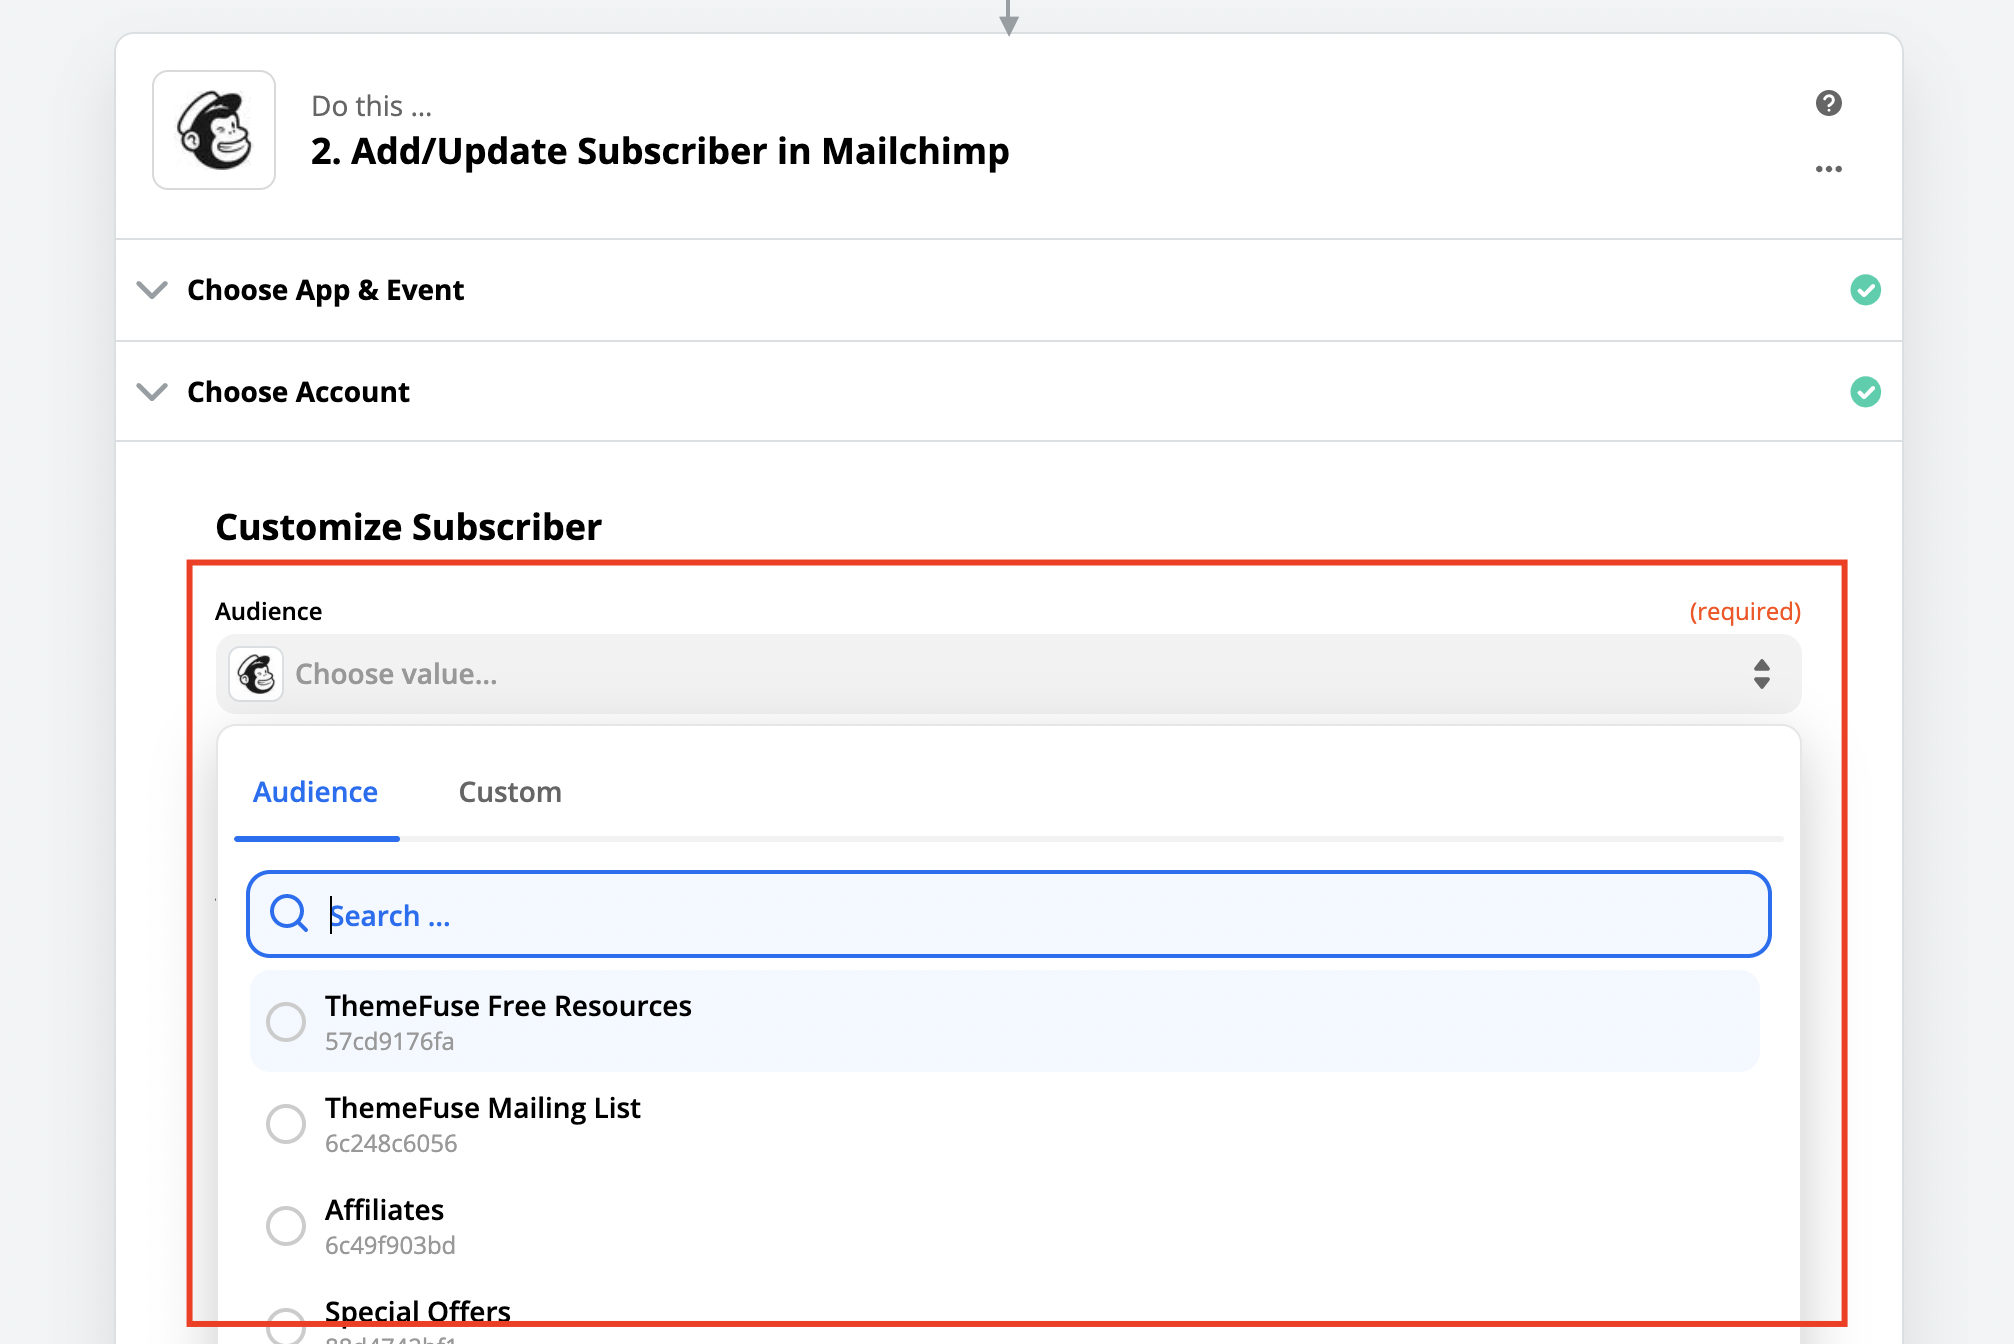
Step 19. Customize the Mailchimp options. Only the Audience List and Subscriber Email are mandatory. You can leave the rest as they are if you want. When you are done press Continue.
Step 20. Review the info you’ll be sending to Mailchimp and press Test & Continue
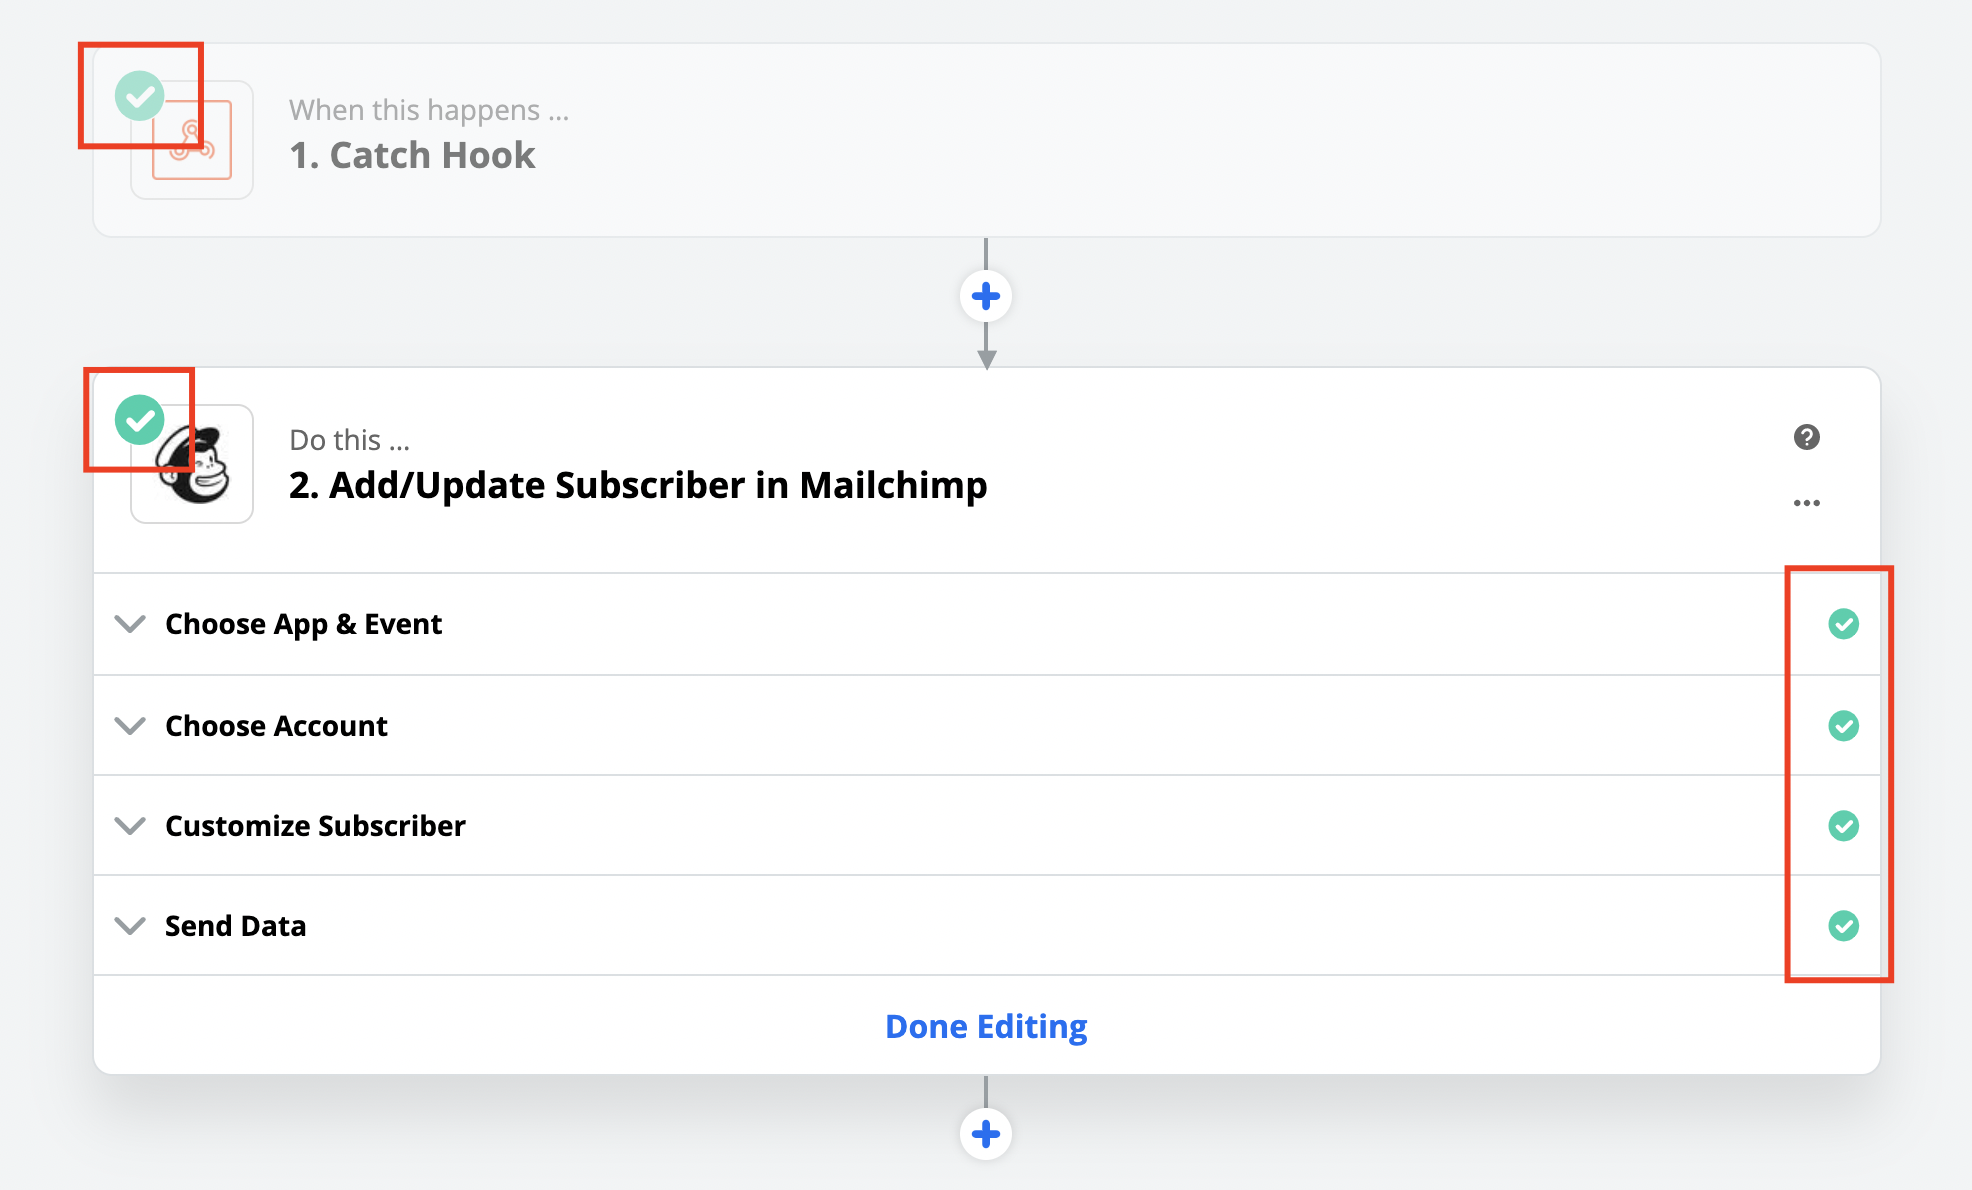
Step 21. Once the test it done, you should see only green checkmarks on all the steps.
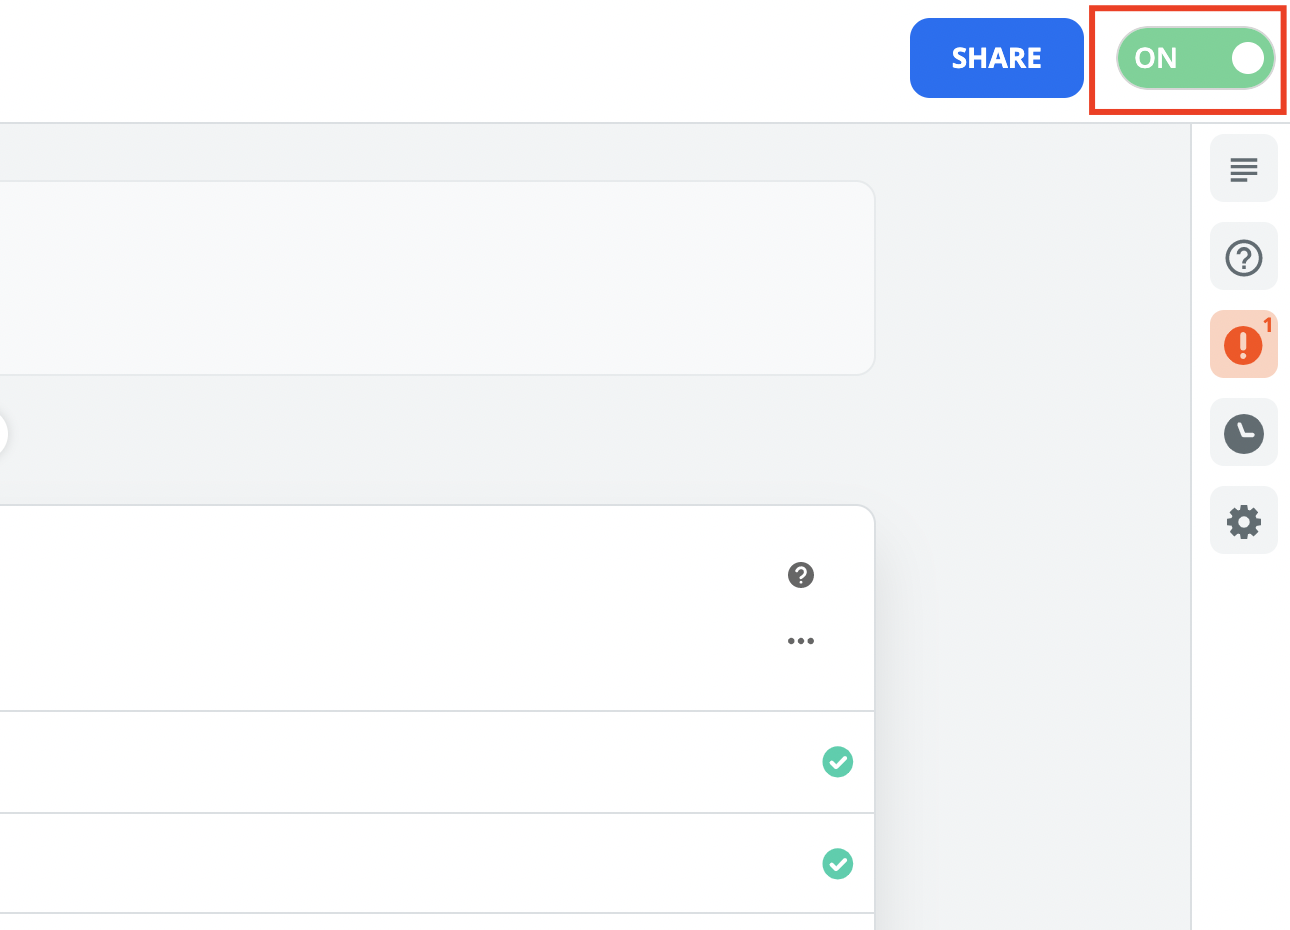
Step 22. Don’t forget to name your Zap and switch it to ON from the top right corner.
You are done. Once someone will submit a lead on your page, it will be picked up by Zapier and automatically pushed into your Mailchimp account.


Leave a Reply